Best press on nails for beginners usually come down to three things you can actually control on day one: sizing options that fit real nail shapes, beginner-friendly adhesive (tabs or glue that isn’t runny), and shapes that won’t fight your hands while you learn.
If you’ve ever tried press-ons and had one pop off in the car, or you ended up with a thumb that looks slightly… haunted, it’s rarely “user error” in the dramatic sense. Most of the time it’s a mismatch between nail shape, prep, and the type of adhesive you used.
This guide helps you pick a set that feels forgiving, apply it without a salon skill set, and remove it without shredding your natural nails. I’ll also flag the few moments when it’s smarter to slow down, especially if your nails are thin, peeling, or irritated.
What makes a press-on set “beginner-friendly”
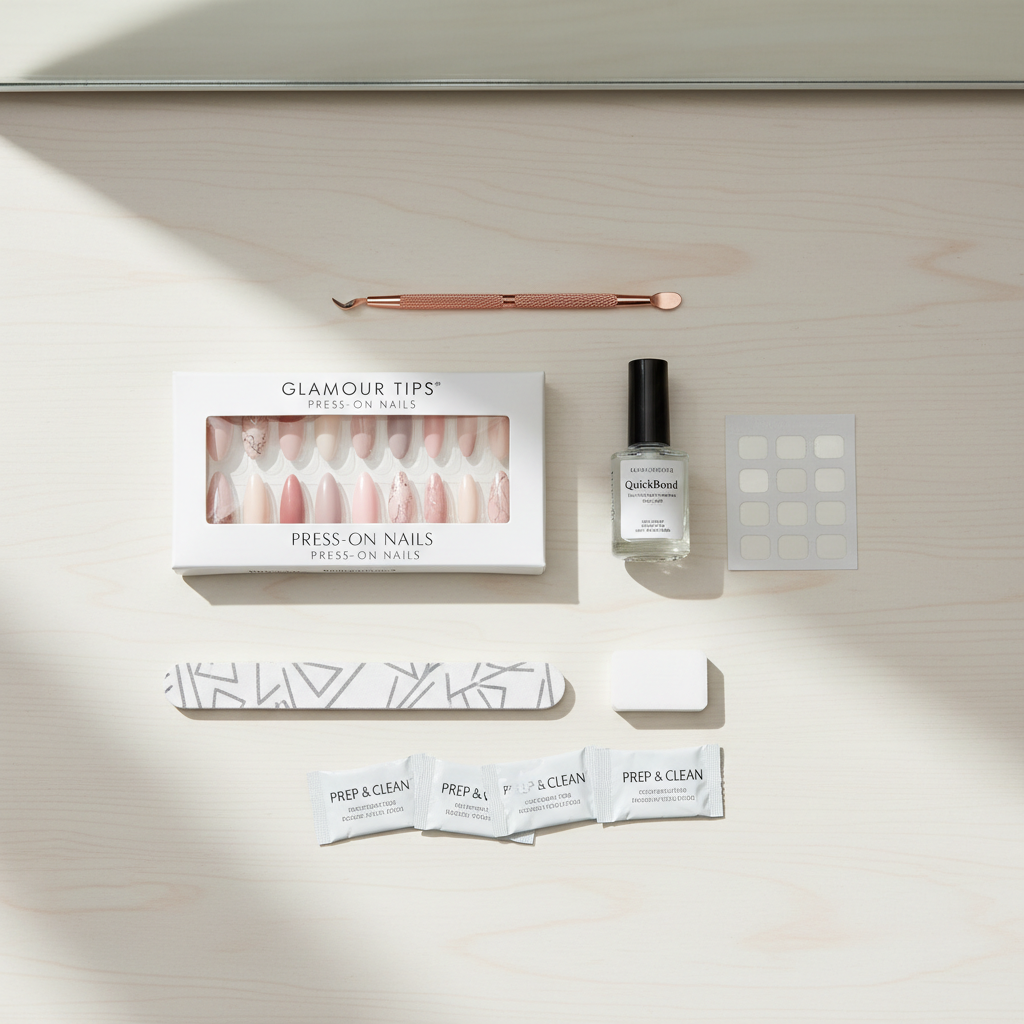
Not every press-on set is designed for someone doing this for the first time. Beginner-friendly usually means the brand assumes you’ll need a second try, and the kit makes that possible.
- More sizes in the box, ideally with clearly numbered tips, so you’re not forcing a “close enough” fit.
- Medium thickness tips that feel sturdy but still flex slightly, super thin tips can crease, super thick tips can feel bulky.
- Short to medium length with soft shapes (short almond, short oval, squoval). Long coffin looks great, but it punishes bad sizing fast.
- Prep tools included: mini file, buffer, cuticle stick, alcohol prep pad. If a kit skips prep, it’s not really for beginners.
- Optional adhesive choices (tabs + glue) so you can practice placement with tabs before committing to glue.
According to the American Academy of Dermatology Association (AAD), minimizing trauma to the nail plate and surrounding skin matters, especially if nails are already brittle, so “easy on, easy off” is not just convenience, it’s damage control.
Quick self-check: which beginner are you?
This part saves time. Your best choice depends on how you live with your hands and how picky you are about wear time.
Pick the option that sounds most like you
- “I want a weekend look, minimal commitment.” Go with adhesive tabs or a tab + tiny dot of glue combo.
- “I type, cook, clean, and need them to last.” Choose a glue-focused kit with thicker tips and a shorter length.
- “My nails are thin/peel easily.” Consider tabs first, avoid aggressive buffing, and plan gentler removal.
- “I’m between sizes a lot.” Look for sets with 24–30 nails (more size range) and a flatter/neutral curve.
- “I hate when the cuticle area looks fake.” Choose sets with a thinner cuticle edge and natural curvature, often labeled “thin base” or “seamless cuticle.”
Key point: wear time is mostly prep + sizing. The brand matters, but your process matters more.
How to choose the best press on nails for beginners (without overthinking)
When people get disappointed, it’s often because they bought based on a photo, not on fit and lifestyle. Here’s the practical filter.
1) Choose shape and length that won’t sabotage you
- Safest starter shapes: short almond, short oval, squoval.
- Trickier for first-timers: long coffin, stiletto, extra-long square (more leverage, more lifting).
2) Match the curve to your nail bed
If your natural nails are flatter and the press-ons are very curved, you’ll see side gaps or feel pressure. If your nails are very curved and the tips are flat, they can pop at the center.
- Flatter nail beds: look for “natural/flat fit” wording when available.
- Curvier nail beds: consider “sculpted” or “curved” tips, or be ready to size slightly wider and file down.
3) Decide on adhesive based on your goal
Tabs are forgiving and quick. Glue lasts longer but demands cleaner prep and better placement.
| Adhesive | Best for | Typical wear (varies) | Tradeoffs |
|---|---|---|---|
| Adhesive tabs | First-time practice, events, photos | 1–3 days | More likely to lift with hot water/lotions |
| Nail glue | Longer wear, daily life | 5–10 days | Removal needs patience to avoid nail damage |
| Tabs + tiny glue dot | Balance of hold + easier removal | 3–7 days | Takes a little experimenting |
4) Pick a finish that hides beginner mistakes
- More forgiving: opaque nudes, milky pinks, solid colors, subtle shimmer.
- Less forgiving: super sheer tips, high-contrast French lines, chrome mirror (shows gaps).
Beginner application: a simple process that actually holds
The goal is not perfection, it’s consistency. Plan 20–30 minutes the first time.
Step-by-step (tabs or glue)
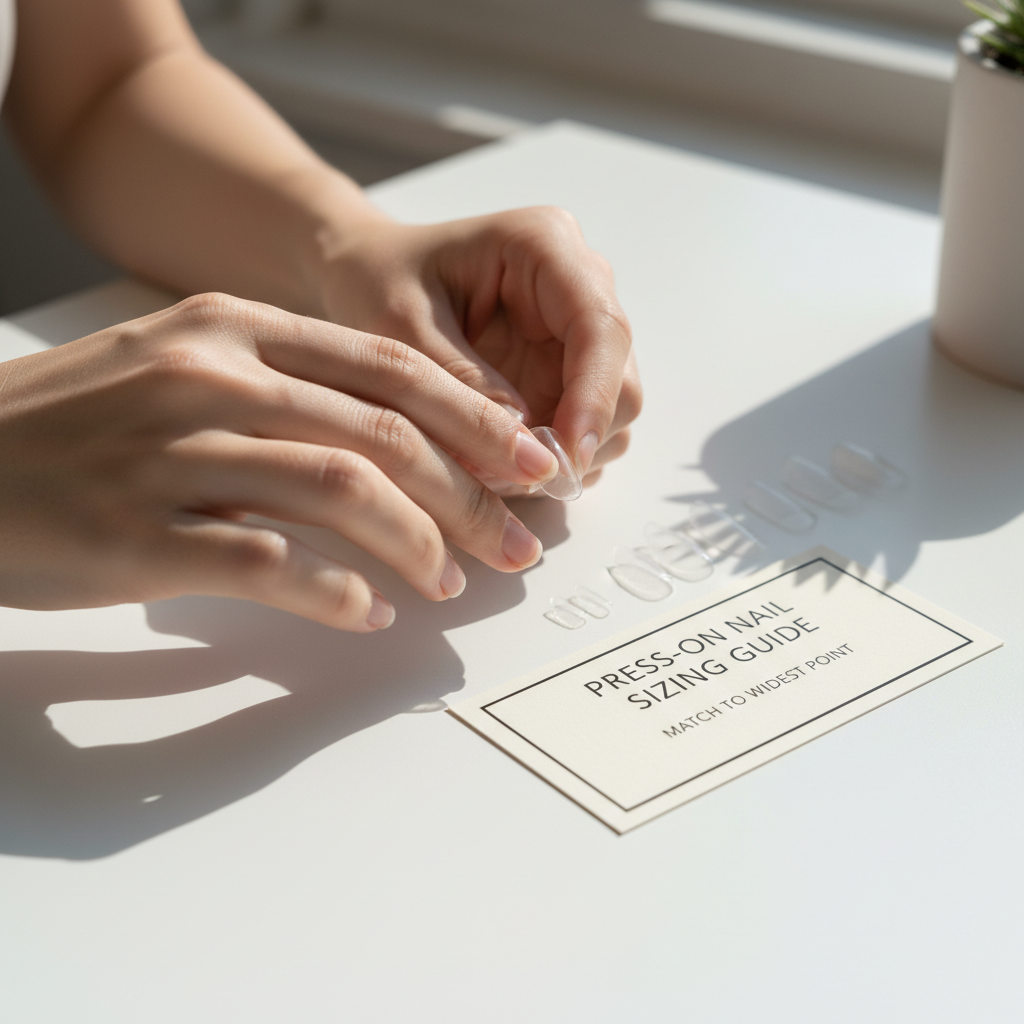
- Size first, then file: pick a tip that covers sidewall to sidewall without pressing into skin. If you’re between sizes, choose slightly bigger and file the sides down.
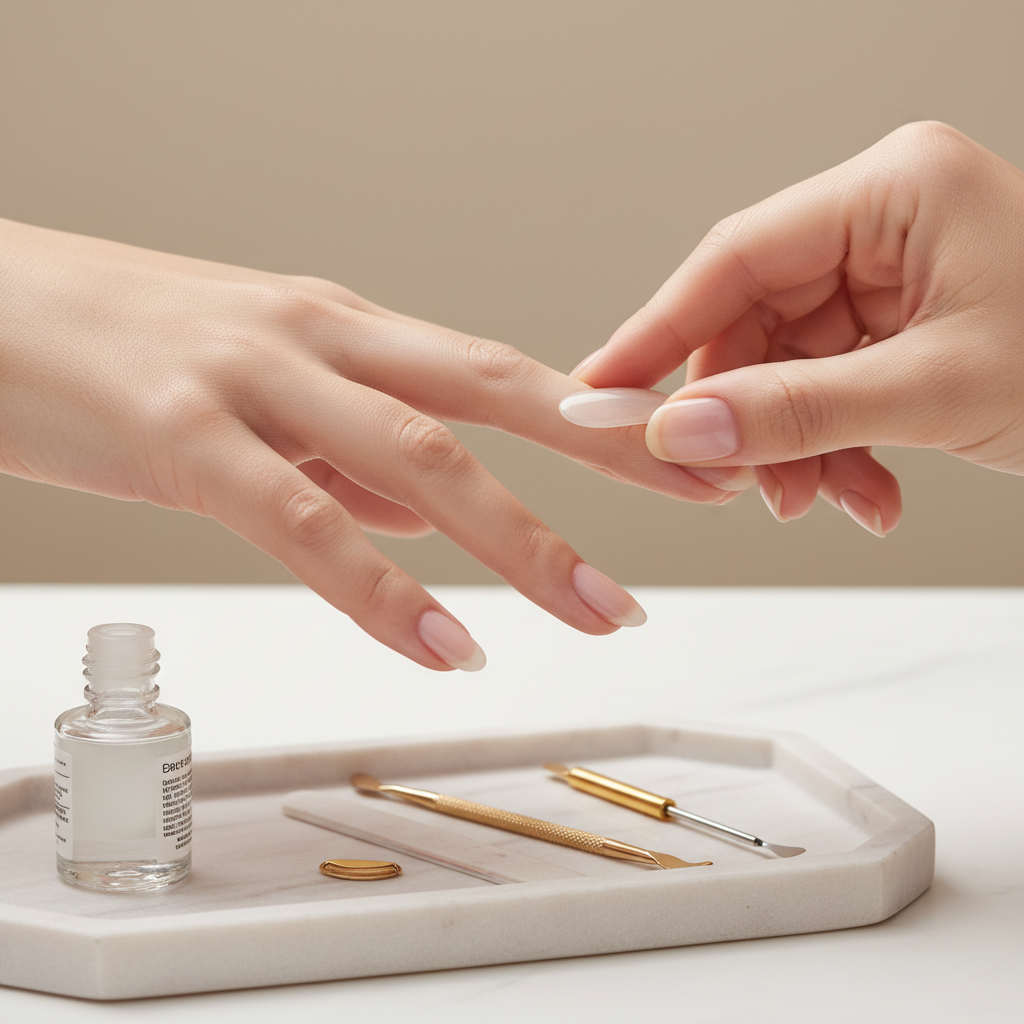
- Prep matters: push back cuticles gently, lightly buff shine (don’t thin the nail), then cleanse with alcohol to remove oils.
- Dry fit: place each nail without adhesive to confirm curve and length. This prevents panic after glue is on.
- Apply at an angle: start at the cuticle area, then roll down toward the free edge to push air out.
- Press and hold: 20–30 seconds each nail. With glue, keep pressure steady, don’t wiggle.
- Wait before water: avoid showering, dishwashing, heavy hand lotion for at least 1–2 hours if you used glue.
Small but important: if glue floods the cuticle, wipe it immediately. Dried glue on skin looks messy and can irritate.
Common problems (and fixes that don’t feel like guesswork)
Most issues show up within the first 24 hours. When you know the pattern, the fix is straightforward.
Lifting at the cuticle
- Likely cause: oil/lotion residue, cuticle not pushed back, tip too small.
- Fix: re-clean with alcohol, size up, and make sure the press-on sits just shy of the cuticle, not on top of it.
Popping off from the center
- Likely cause: curve mismatch, glue not spread evenly.
- Fix: try a different brand/fit style, or use a thin layer of glue on both the natural nail and the tip for better contact.
Side gaps
- Likely cause: wrong size, nails applied crooked, very curved tips on flatter nails.
- Fix: size wider and file to shape, slow down during placement, check alignment before pressing.
They feel too thick or “clacky”
- Likely cause: thick tips + long length, or stacked glue blobs.
- Fix: choose short styles, use less glue, avoid ultra-thick salon-style tips until you’re comfortable.
Safer removal and nail care (so your next set looks better)
Removal is where beginners do the most accidental damage. If your nails feel sore, warm, or look red, slow down and consider getting help from a nail tech.
How to remove without peeling your natural nail
- For tabs: warm soapy water soak, then gently lift from the side using a cuticle stick, add oil if needed.
- For glue: soak in acetone (or acetone-based remover) and wait. Don’t pry. Re-soak when resistance shows up.
- After removal: wash hands, apply cuticle oil, then a basic moisturizer. Give nails a break if they look thin.
According to the U.S. Food and Drug Administration (FDA), acetone and nail products can irritate skin and eyes, so use them in a ventilated area and avoid prolonged skin contact. If you have eczema, broken skin, or frequent irritation, it’s reasonable to ask a dermatologist what’s safest for you.
Beginner shopping checklist (save this before you buy)
If you just want a clean purchase decision, this list is enough.
- Length: short or short-medium
- Shape: oval, short almond, squoval
- Count: 24–30 nails for better sizing odds
- Adhesive: tabs included, or glue + prep tools
- Cuticle edge: thin base, natural curve
- Finish: opaque or softly shimmery
- Extras: file, buffer, alcohol wipe, cuticle stick
Key takeaway: the best press on nails for beginners are the ones you can size correctly in under five minutes and remove without drama.
Conclusion: a realistic “first set” plan that works
If you’re new, start with a short, forgiving shape and either tabs or a tab-plus-glue approach, then focus on sizing and prep before you chase longer wear. Once your application feels consistent, moving to glue-only sets becomes much easier.
Tonight’s action step: pick one beginner-friendly set, do a full dry fit, and apply just one hand first. It sounds cautious, but it’s the fastest way to learn without wasting nails.