
How to use clothes steamer for beginners comes down to three things: set it up safely, match the steam to the fabric, and use steady, light tension so wrinkles relax instead of just getting damp.
If you have ever steamed a shirt and ended up with water spots, a slightly “wavy” collar, or a damp hem that still looks wrinkled, you are not alone. Steamers are simple tools, but the small habits matter, especially in the first week of using one.
This guide walks you through a beginner-friendly routine, what to do for common fabrics, and the few safety rules worth taking seriously so you do not trade wrinkles for damage.
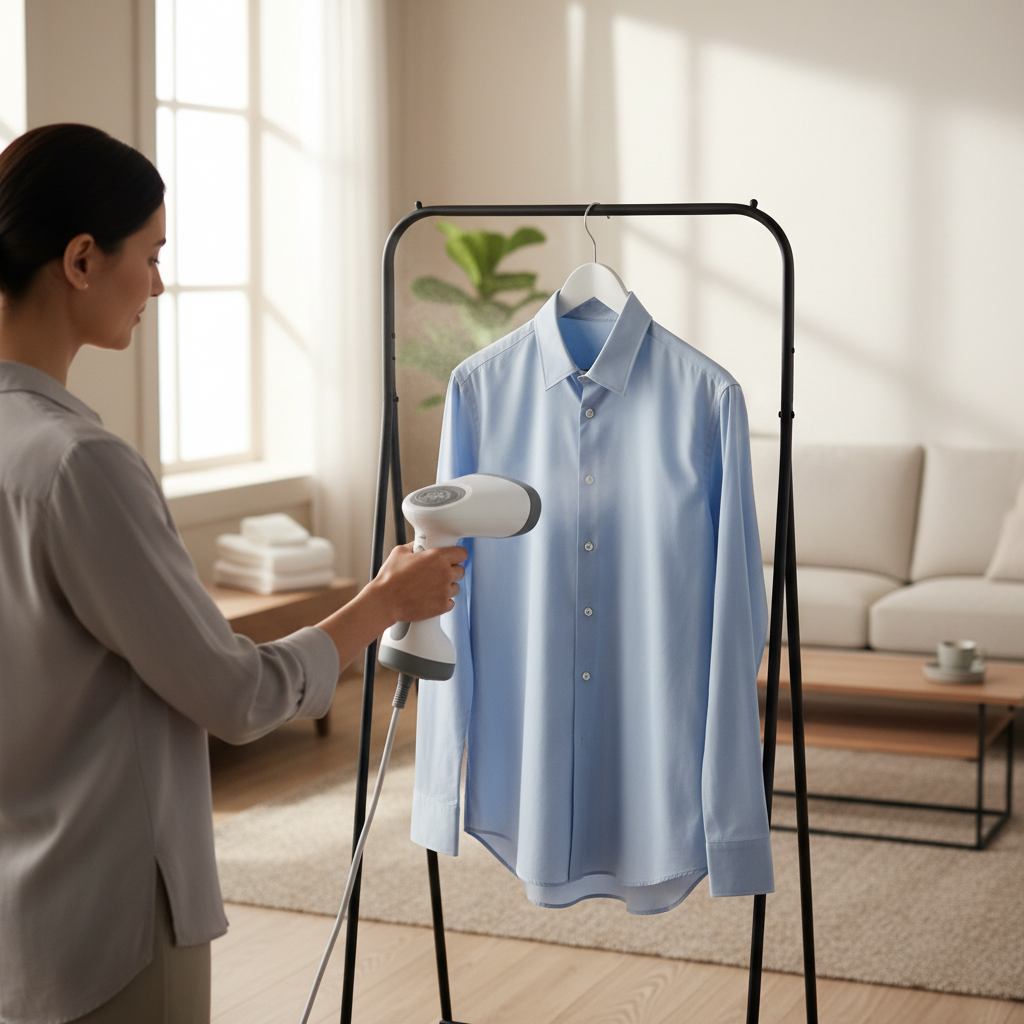
What a clothes steamer does (and when it beats ironing)
A steamer pushes hot moisture into fabric fibers, that heat and humidity relax the fibers so they fall back into shape. It is great for quick touch-ups, delicate materials, and garments with texture or drape.
Ironing presses fabric between a hot plate and a hard surface, which can create crisp creases but also risks shine, scorch marks, or flattening knits if you are not careful.
- Steamers usually win for dresses, blouses, knits, pleats, and “dry clean” items that only need a refresh.
- Irons usually win for sharp creases, heavy cotton, linen, and crisp collars if you want that pressed look.
- Both struggle with deep, set-in wrinkles on thick fabric unless you add time, heat control, and good technique.
According to the U.S. Consumer Product Safety Commission (CPSC), many household burns happen around hot appliances, so treat steam like boiling water: keep hands out of the steam path, and let the tool cool before storing.
Before you start: quick setup and safety checks
The fastest way to get mediocre results is rushing setup. Most beginner problems trace back to “almost ready” water levels, the wrong hanger, or steaming in a cramped corner.
5-minute setup checklist
- Fill the tank to the max line, not above. More water means steadier steam.
- Use the right water: many steamers work fine with tap water, but hard water can create scale. If your tap water leaves white residue in kettles, distilled water often reduces buildup.
- Heat fully: wait until steam output looks consistent, not spitty.
- Hang the garment on a sturdy hanger, with space behind it so steam can move through.
- Check the label: if it says “do not steam” or warns about heat, test carefully or skip.
Safety basics beginners overlook
- Keep the steamer head pointed away from your hand and wrist, steam burns can happen quickly.
- Do not steam clothes while wearing them.
- Unplug before refilling if your model requires it, follow your manual.
- Keep cords away from water and from the hot head.
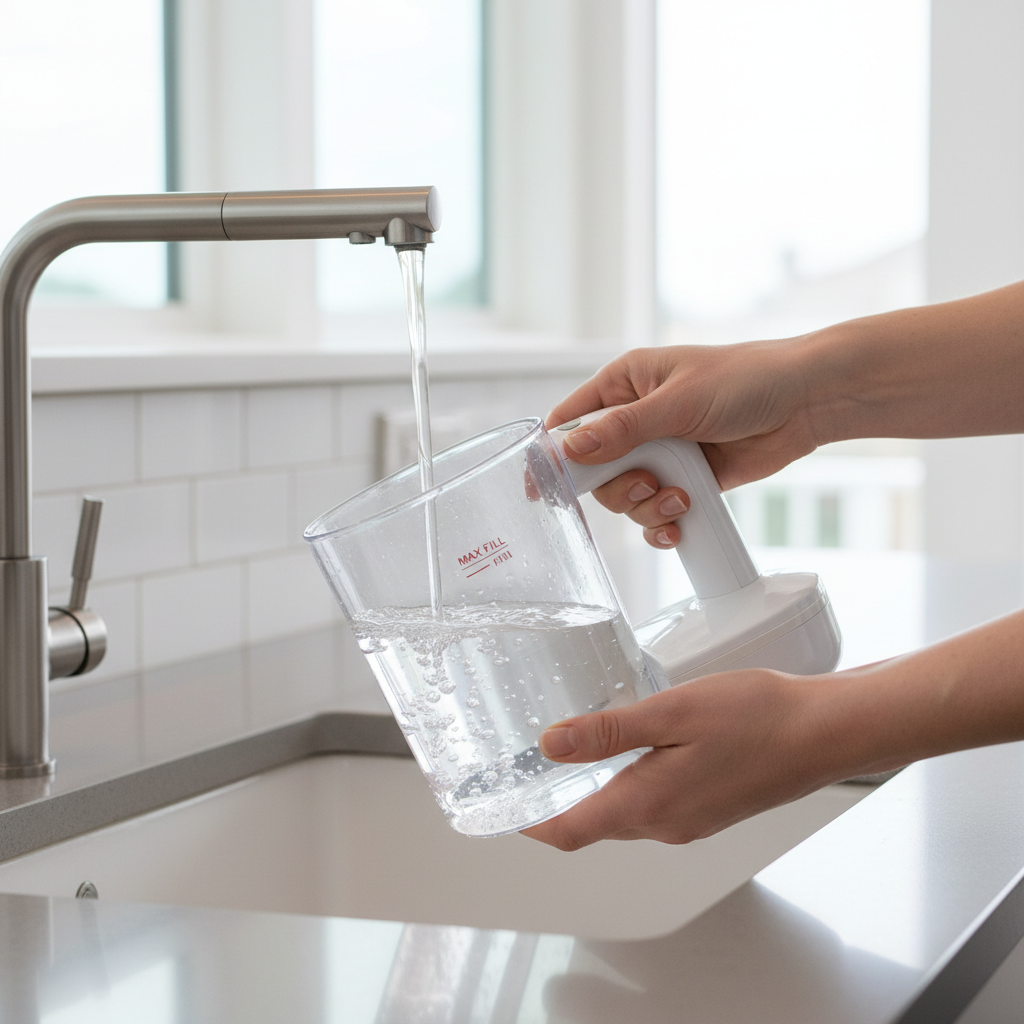
A simple step-by-step technique that works on most clothes
If you only learn one routine, use this one. It is the most forgiving method for how to use clothes steamer for beginners without over-wetting fabric.
Step-by-step
- Start from the top: collars, shoulders, then work down. Gravity helps wrinkles release.
- Keep light tension: with your free hand, gently pull the hem or side seam so the fabric is flat, keep fingers behind the fabric, not in front of the steam.
- Use slow vertical passes: move the head down 1–2 inches per second, pausing on stubborn lines.
- Let steam do the work: you do not need to press hard. Touching is okay for many fabrics, but do not “iron” with the steamer unless your model is designed for contact.
- Flip and repeat: many garments look better after a quick pass on the back side too.
- Air-dry 2–5 minutes: hang the item before wearing, damp fabric attracts new wrinkles fast.
Key points that improve results immediately
- Wrinkles hate consistency: steady steam beats short bursts.
- Distance matters: start about 0.5–1 inch away, adjust if you see droplets.
- Don’t chase perfection: steamers smooth, they do not always create sharp edges like an iron.
Fabric guide: what to change for cotton, polyester, silk, and more
Most beginners assume one setting works for everything, that is where shine, water marks, or “melted-looking” synthetics can happen. When in doubt, test a hidden seam first.
| Fabric | Steamer approach | Watch-outs |
|---|---|---|
| Cotton | Longer passes, a little closer, use tension | Deep creases may still need ironing |
| Linen | Steam while slightly damp, multiple passes | Wrinkles are part of the look, do not overwork |
| Polyester / blends | Shorter passes, keep a bit more distance | Too much heat can cause sheen or warping |
| Wool | Hover or light contact, let it rest on hanger | Over-steaming can make it feel “heavy” temporarily |
| Silk | Hover, lowest output if adjustable, steam inside-out | Water spots can show, always test first |
| Delicates (lace, chiffon) | Hover and use very gentle tension | Snags and stretching, avoid pulling hard |
According to the Federal Trade Commission (FTC), care labels are meant to guide consumers on safe garment care, so if a label warns against steam or high heat, treat that as a real constraint, not a suggestion.
Self-check: why your steaming still looks “off”
If you are doing everything “right” but results look uneven, it is usually one of these. This little checklist saves a lot of frustration.
- Wrinkles come back immediately: garment did not dry on the hanger, or you packed it away too soon.
- Water droplets or spotting: steamer not fully heated, tank overfilled, or you are too close on a fabric that hates moisture.
- Fabric looks stretched: pulling too hard for tension, especially on knits.
- Only the surface smooths: you steamed the front but not the back, or the garment is too compressed on the hanger.
- Steamer “spits”: mineral buildup, low water level, or the unit tilted in a way your model does not like.
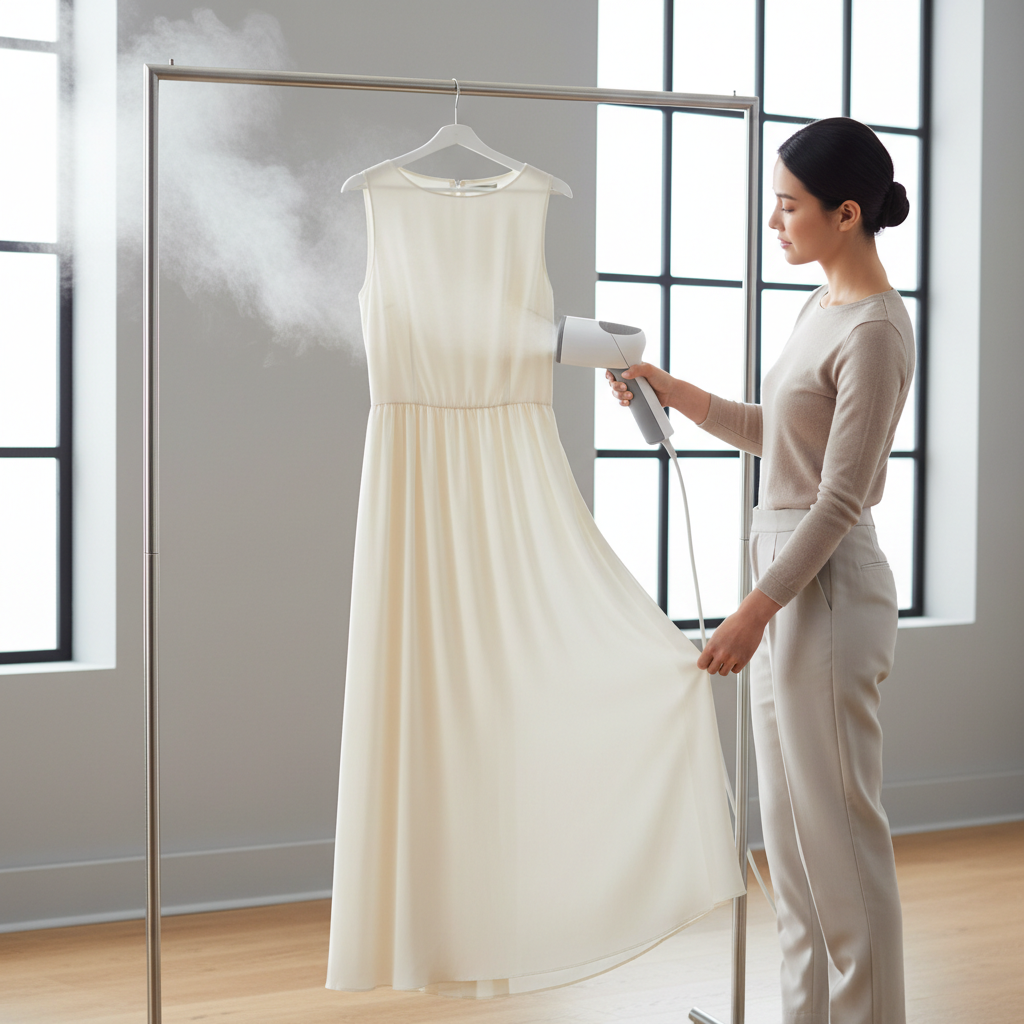
Practical routines: fast touch-ups, travel, and bulky items
Once you know the basics, the real value is having a repeatable routine for your actual life, Monday morning rush, suitcase wrinkles, or a coat that never fits on the ironing board.
Fast morning touch-up (2–4 minutes)
- Steam the “high-visibility zones”: collar, chest, sleeves, front panel.
- Skip the lower back and inner seams unless the fabric is very wrinkled.
- Hang for a couple minutes while you finish getting ready.
Travel steaming without a full setup
- Use the bathroom after a hot shower as a backup, but a steamer is more consistent.
- Bring distilled water if you travel to areas with very hard water, or plan to descale later.
- Steam in short sessions, small travel steamers can overheat or run dry quickly.
Bulky items (blazers, coats, curtains)
- Work in sections, lapels and shoulders first.
- Hover more than you touch, especially on structured pieces.
- Let items rest longer, thick fabrics hold moisture longer.
Care, descaling, and storage so your steamer keeps working
Steamers fail early for predictable reasons: mineral scale, leaving water in the tank, and cord or hose damage. The fixes are not glamorous, but they are cheap.
- Empty the tank after use if you will not use it again soon, stagnant water can smell and minerals settle.
- Let it cool before storing, heat trapped in a cabinet is rough on seals.
- Descale when output weakens: follow your manufacturer’s directions, since some brands allow vinegar solutions and others do not.
- Wipe the head with a soft cloth once cool, residue can cause spitting later.
Conclusion: a beginner plan you can actually follow
If you want a simple way to get consistent results, keep it boring: fill correctly, let it heat fully, steam top-down with light tension, then give the garment a few minutes to dry. That routine covers most closets and makes how to use clothes steamer for beginners feel straightforward instead of random.
Try this next: pick one everyday item, a cotton tee or a polyester blouse, and practice the same passes three times. You will feel the timing, and after that, most “steamer problems” become easy to diagnose.
If you keep seeing spotting on delicate fabrics or you are caring for expensive structured pieces, it may be worth asking a professional cleaner what they recommend for that specific garment, some dyes and finishes react unpredictably to moisture and heat.
If you need a more hands-off routine, look for a steamer with adjustable steam output, a stable stand, and an auto shut-off feature, those details tend to make the beginner phase much smoother.