
How to dye hair at home without damage starts with one unglamorous truth: most “damage” comes from rushing, choosing the wrong formula for your goal, and over-processing already stressed hair.
If you want salon-looking color without the crunchy ends, the game is less about secret products and more about planning, timing, and protecting the hair you already have. The good news is you can control those parts at home.
Also, “damage-free” is a strong phrase. Most permanent color involves chemistry that can dry hair out, especially if you lift (go lighter) or overlap on previously colored lengths. What you can realistically aim for is minimal damage and predictable, even results.
Pick the right type of dye for your goal (this is where most people go wrong)
Before you buy anything, decide what you actually need: deposit-only shine, gray coverage, a darker change, or lighter hair. Each goal points to a different product category, and using the wrong one is how people end up with dryness or patchy color.
- Temporary color (sprays, rinses): sits on the surface, washes out quickly, usually lowest commitment.
- Semi-permanent: deposit-only, no developer, often gentler for refreshing faded color or adding tone.
- Demi-permanent: uses a low-volume developer, good for blending gray and boosting richness with less stress than permanent.
- Permanent: best for solid gray coverage and bigger lasting changes, but more likely to cause dryness if misused.
- Lightener/bleach: lifts pigment, highest risk for breakage if hair is already compromised.
In many cases, if you’re trying to go lighter at home, the “without damage” part becomes harder to guarantee. If you still want to proceed, keep expectations modest, lift slowly, and avoid repeated sessions close together.
Do a fast hair health check before you color
If your hair is already on the edge, even a gentle formula can push it into frizz, snapping, or tangling. Spend two minutes checking where you stand, it saves you from wasting a box of dye and regretting it.
Quick self-check
- Stretch test: take a clean, dry strand. If it stretches a lot and doesn’t bounce back, hair may be over-processed.
- Porosity clues: hair that dries very fast, tangles easily, or feels rough often grabs pigment unevenly.
- Ends condition: if ends look see-through or keep breaking, prioritize a trim or a bond routine before coloring.
- Scalp status: irritation, flakes, or abrasions raise the risk of burning. Wait until scalp calms down.
According to the U.S. Food and Drug Administration (FDA), hair dyes can cause allergic reactions, so a patch test is a smart safety step even if you’ve dyed before.
Prep that prevents damage: patch test, strand test, and the “don’t shampoo right before” rule
Most at-home dye fails are prep fails. The color isn’t “bad,” the process just didn’t match the hair history.
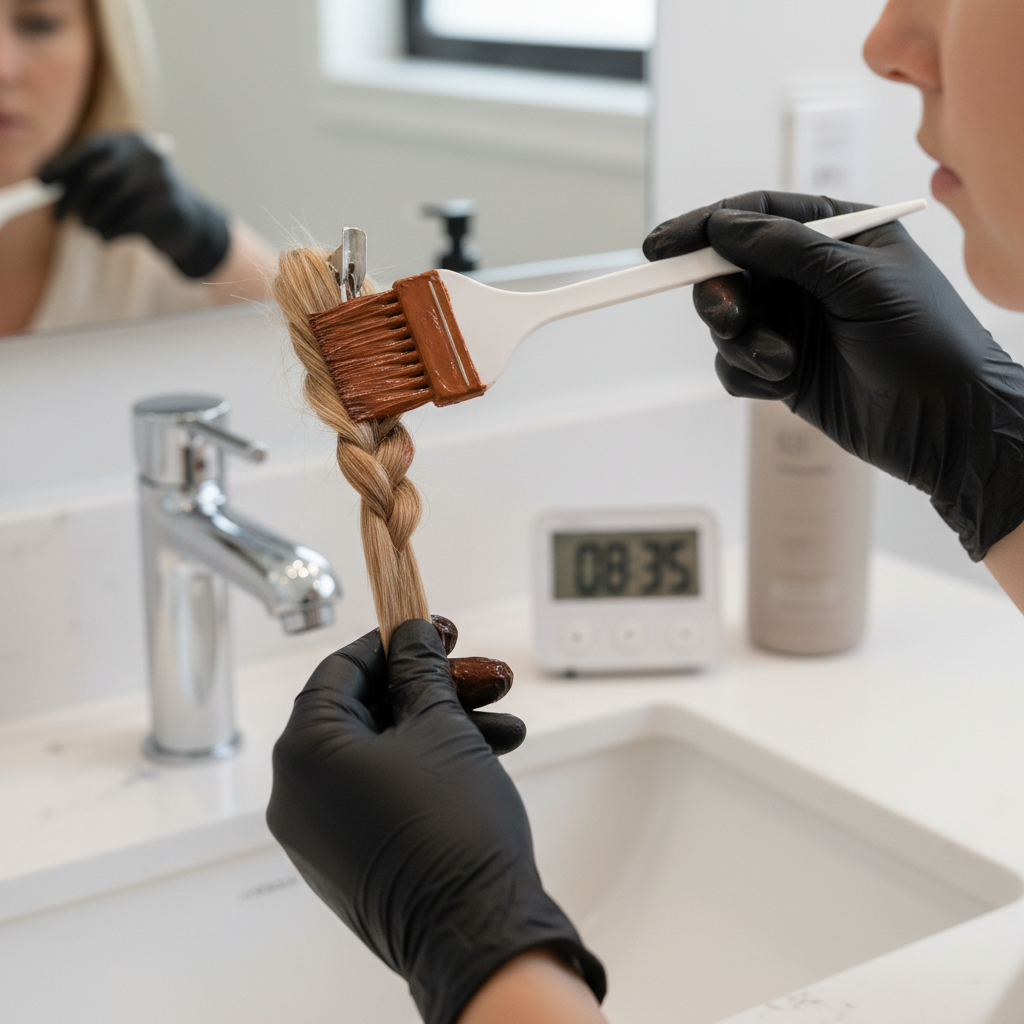
Three prep steps worth doing
- Patch test (48 hours when possible): helps catch allergy risk. If you notice swelling, rash, or intense itching, stop and consider asking a medical professional.
- Strand test: shows timing, tone, and how your hair responds. Especially important if you have highlights, previous color, or porous ends.
- Skip shampoo right before: many people do better coloring on day-old hair. Natural oils can reduce scalp sting for some, but don’t load hair with heavy styling products.
If you use a clarifying shampoo, do it 1–2 days earlier, not the same day. You want hair clean-ish, not squeaky and vulnerable.
A damage-minimizing step-by-step routine (works for most home color kits)
Here’s the workflow that tends to keep hair in better shape and avoids the common “hot roots, dull ends” situation.
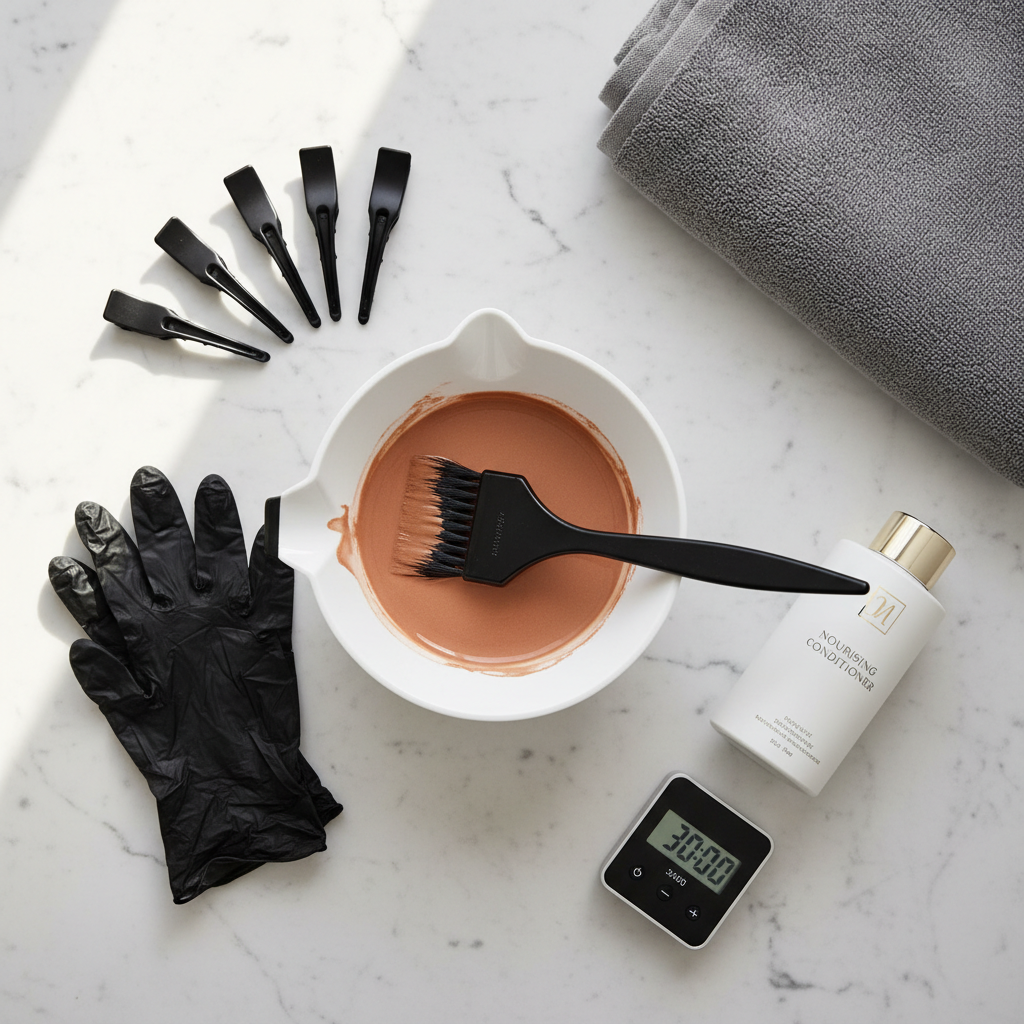
Tools that make a real difference
- Gloves, old towel, and a timer (timing errors are sneaky)
- Sectioning clips and a tail comb for clean partings
- Petroleum jelly or barrier cream along hairline
- Wide-tooth comb for gentle detangling after rinsing
Application steps
- Detangle and section into 4 quadrants so you move fast and evenly.
- Apply to mid-lengths and ends first if you’re doing an all-over permanent color and your roots process faster. For root touch-ups, target regrowth only.
- Avoid overlapping permanent dye on previously colored lengths unless the instructions explicitly allow it. Overlap is a classic cause of dryness and breakage.
- Watch the clock, and follow the product timing. “A bit longer” rarely means “a bit better.”
- Rinse thoroughly with lukewarm water until water runs mostly clear, then use the included conditioner or a rich post-color mask.
If you’re refreshing faded lengths, consider a semi-permanent gloss instead of pulling permanent dye through the ends. That single decision often reduces damage more than any add-on product.
Use this table to choose a lower-damage plan
Different scenarios need different tactics. This is the part most tutorials skip, then people assume their hair “can’t take color.” It can, you just need the right approach.
| What you want | Lower-damage option | What to avoid |
|---|---|---|
| Cover a few grays | Demi-permanent or targeted root application | Pulling permanent color through ends every time |
| Go darker | Deposit-only semi or demi, then reassess | Multiple permanent layers that build up and dull |
| Refresh faded color | Color-depositing mask or semi-permanent gloss | Re-coloring with permanent dye “just because” |
| Go lighter | Small lift + toner, spaced sessions, prioritize hair strength | High-volume developer, repeated bleach in short intervals |
| Fix brassiness | Toning shampoo or demi toner (strand test) | Stacking ash dyes without understanding undertone |
Aftercare for shine and strength (the first 72 hours matter)
The way you treat hair after coloring can either lock in smoothness or amplify dryness. Keep it simple and consistent.
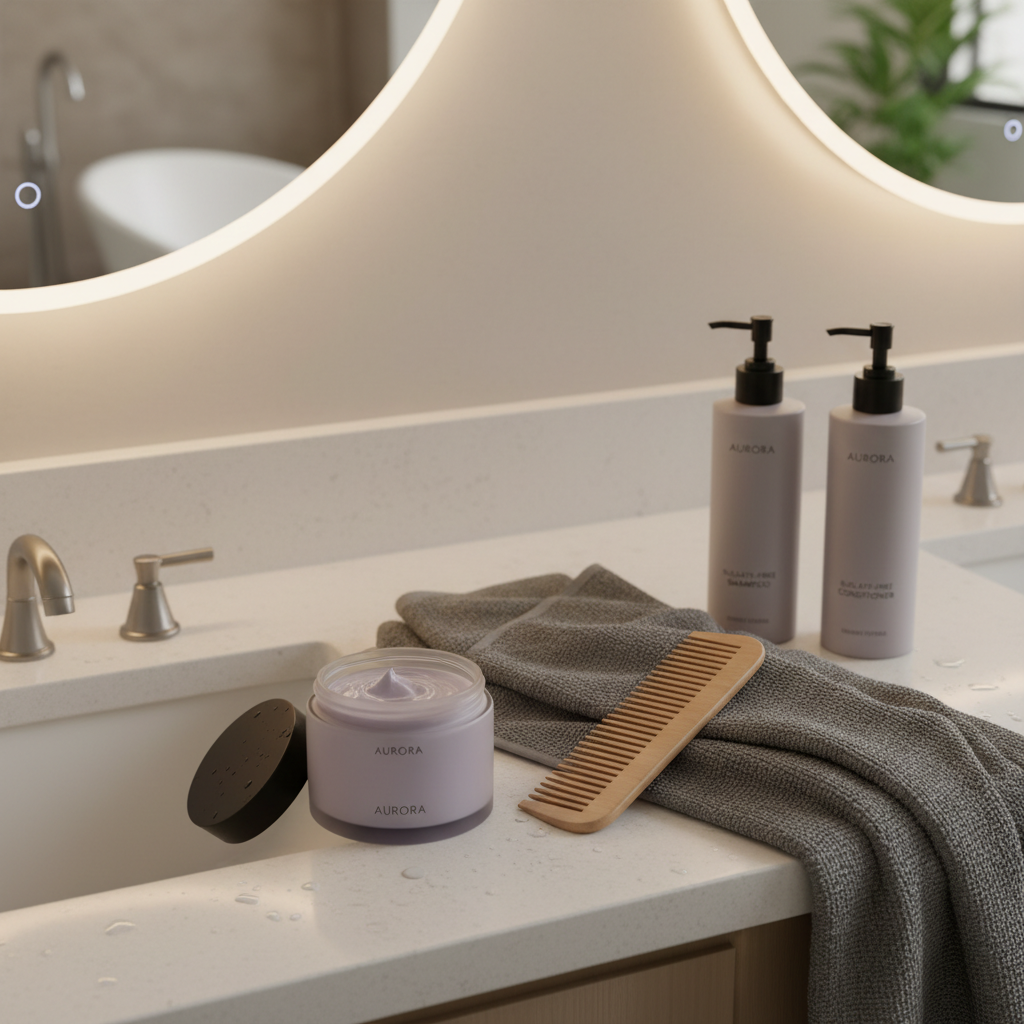
- Wait a bit before harsh shampooing: many people prefer gentle cleansing for the first couple washes to help hair feel less dry.
- Condition with intention: focus on mid-lengths and ends, and let conditioner sit a few minutes.
- Lower heat, slower styling: if you heat-style, use a protectant and drop the temperature. Frequent high heat plus fresh color often equals brittle ends.
- Add a weekly repair step: a bond-building or protein treatment can help some hair types, but overdoing protein can make hair feel stiff, so adjust based on feel.
According to the American Academy of Dermatology Association (AAD), fragrance and chemical ingredients can irritate sensitive skin, so if your scalp tends to react, choose gentler products and stop if burning or rash shows up.
Common mistakes that quietly cause damage (and what to do instead)
A lot of “my hair got fried” stories come from predictable habits. If you correct these, your next at-home session usually goes smoother.
- Mistake: Dyeing over already damaged hair to “make it look healthier.” Try: gloss or deposit-only color plus a trim plan.
- Mistake: Using permanent color to tone blonde. Try: a proper toner or demi with the right undertone.
- Mistake: Reapplying to the whole head every time. Try: root touch-up, then refresh lengths with a gentle gloss.
- Mistake: Guessing your level and undertone. Try: strand test, and choose shades based on warmth/coolness, not just the box photo.
- Mistake: Skipping saturation to “use less dye.” Try: buy enough product; uneven application often leads to redoing it, which is worse for hair.
When to pause DIY and ask a pro
Sometimes the most hair-saving move is not pushing through at home. Consider a salon consult if you’re dealing with any of these:
- Major lift goal (dark to blonde, or correcting strong bands)
- History of bleach, relaxers, or keratin treatments and hair already feels fragile
- Persistent scalp sensitivity, open sores, or previous allergic reaction to dye
- Color correction after a box dye gone wrong, especially orange roots and dark ends
Many salons offer quick consults, and even a short professional plan can help you avoid the expensive part: breakage that forces a big cut.
Key takeaways (print this mentally before you start)
- Choose the mildest formula that meets your goal, deposit-only when possible.
- Patch test and strand test reduce both safety surprises and color surprises.
- Don’t overlap permanent dye on lengths unless you truly need it.
- Aftercare is part of coloring, not a bonus step.
Conclusion: a calmer, safer way to color at home
If your goal is how to dye hair at home without damage, think like a cautious colorist: protect the scalp, choose the gentlest route, and only process the hair that actually needs processing. That approach usually delivers better shine and fewer “why does it feel like straw” mornings.
Pick your formula based on the job, do a quick strand test, then follow a clean, timed application with solid conditioning after. If you’re unsure about lifting or correcting, it’s often worth getting professional guidance before you commit.
FAQ
- How can I dye hair at home without damage if my hair is already dry?
Focus on deposit-only color or a gloss, avoid bleach, and cut back on heat for a week before and after. If ends are breaking, a trim and repair routine may matter more than the shade choice. - Is box dye always damaging?
Not always, but permanent box dye can be drying if you overlap or choose a shade that requires lifting. Many people get gentler results with demi or semi-permanent options for refreshes. - Should I use coconut oil before dyeing?
Some people like oils as a pre-treatment, but heavy oil can interfere with even saturation for certain formulas. If you try it, keep it light and do a strand test first. - What developer volume is safest for at-home color?
Lower volumes are typically less aggressive, but “safe” depends on your hair history and the product system. If you don’t understand developer choices, sticking to reputable kits and instructions can reduce risk. - Why are my roots brighter than the rest?
Heat from the scalp makes roots process faster, and virgin roots can lift differently than colored lengths. A common fix is applying to mid-lengths first, then roots, when directions allow. - Can I dye over highlighted hair without damage?
You can often darken or tone with less risk using demi or semi-permanent color, but highlighted sections can grab pigment quickly and turn muddy. Strand testing helps you avoid surprises. - How soon can I dye again if I don’t like the result?
It depends on what went wrong and how your hair feels. If hair feels rough or stretchy, waiting and conditioning first is usually smarter; for big corrections, a professional consult can prevent compounding damage.
If you’re trying to keep color changes low-stress, it can help to build a simple plan: pick a gentler formula for regular refreshes, save stronger chemistry for true regrowth or big changes, and keep a short checklist so you don’t improvise mid-application.