
how to apply press on nails correctly starts with one unglamorous truth, most “they popped off” problems come from prep, not the nails.
If you want a set that looks smooth up close, survives hand-washing, and doesn’t lift at the edges by day two, you need a repeatable routine, not more glue. The good news, the routine is simple once you know what actually matters.
Below I’ll walk you through sizing, cuticle work, adhesive choices, a step-by-step application, and the small adjustments that make press-ons look more like a salon set.
What usually goes wrong (and why press-ons lift)
Most wear issues come down to fit and surface contact. Press-ons don’t “bond” like acrylic, they rely on clean, flat contact plus the right adhesive layer, so tiny mistakes show fast.
- Wrong size nail, too small pinches the sidewalls, too large sits on skin, both lead to lifting.
- Cuticle not cleared, invisible cuticle tissue on the nail plate blocks adhesion.
- Oily or wet nails, lotion, sunscreen, and even natural oil reduce grip.
- Too much glue, floods the edges, traps air pockets, and actually shortens wear.
- Pressure time too short, glue needs steady pressure to spread evenly.
According to the American Academy of Dermatology (AAD), nail and cuticle care should be gentle, aggressive scraping and picking can irritate skin and raise infection risk, so you want “clean and tidy,” not “raw.”
Quick self-check: are your nails ready for press-ons?
If you want to know how to apply press on nails correctly for your specific situation, start here. This two-minute check saves a lot of redoing.
- You can see your cuticle line clearly and there’s no flaky tissue on the nail plate.
- Your nails feel dry and squeaky after wiping with alcohol (not slippery).
- No peeling layers at the free edge, if you have peeling, choose shorter lengths and avoid harsh removal.
- Healthy skin around nails, no open cuts, redness, or swelling.
- You can match sizes for all 10 nails without forcing a “close enough.”
If you have irritation, suspected fungus, or chronic splitting, press-ons might still be possible, but it’s smarter to pause and ask a dermatologist or licensed nail professional what’s safe for you.
Prep that actually matters (the non-negotiables)
Prep is where long wear comes from. It’s also where people rush because it feels boring, then wonder why the set slides off.
1) Clean hands, then remove oils
Wash hands with soap, dry fully, then avoid touching your face or hair. Wipe each nail with 70% isopropyl alcohol or a nail dehydrator if you have one.
2) Gently push back cuticles
Use a cuticle pusher after a brief warm soak, or do it dry if your nails swell in water. You’re aiming to remove the thin cuticle tissue on the nail plate, not to dig into skin.
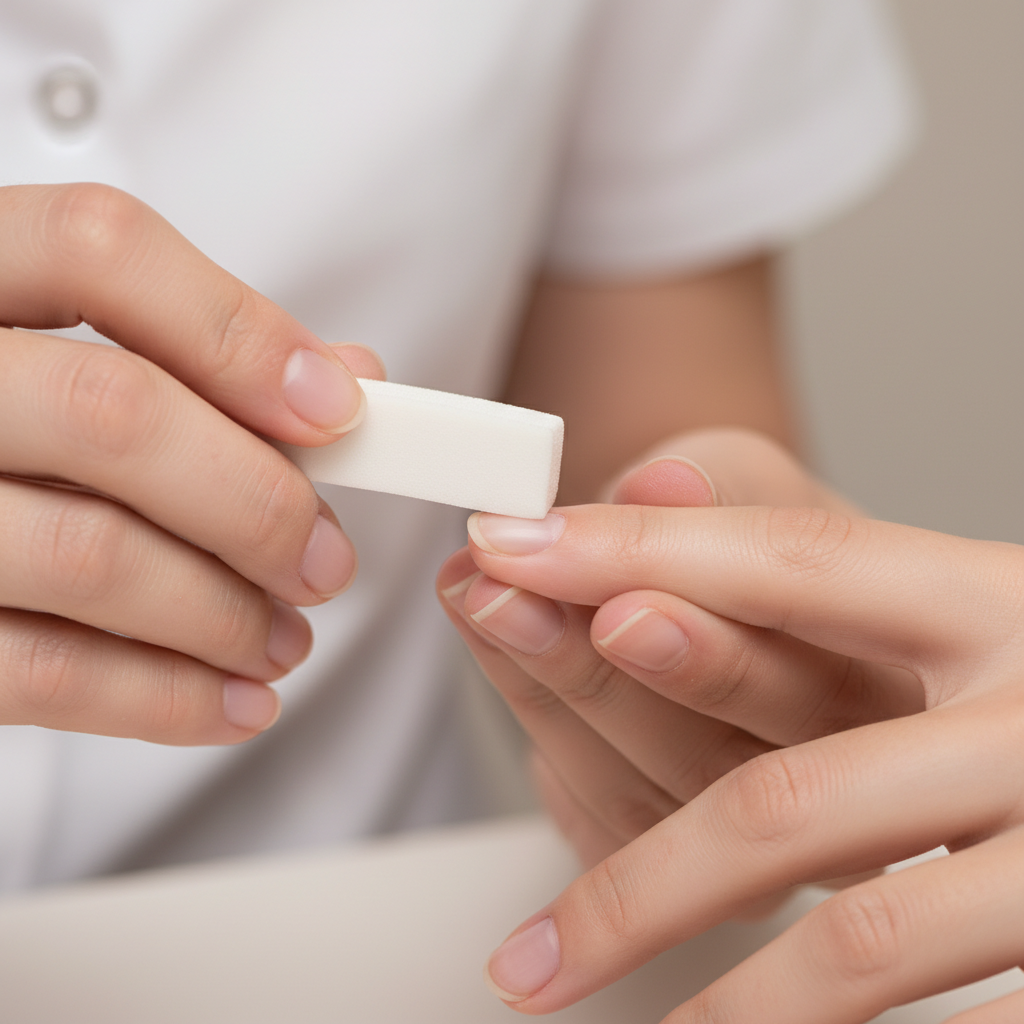
3) Lightly buff for texture
Use a fine buffer to take down shine only. Over-buffing thins nails and can make them sore later, keep it minimal.
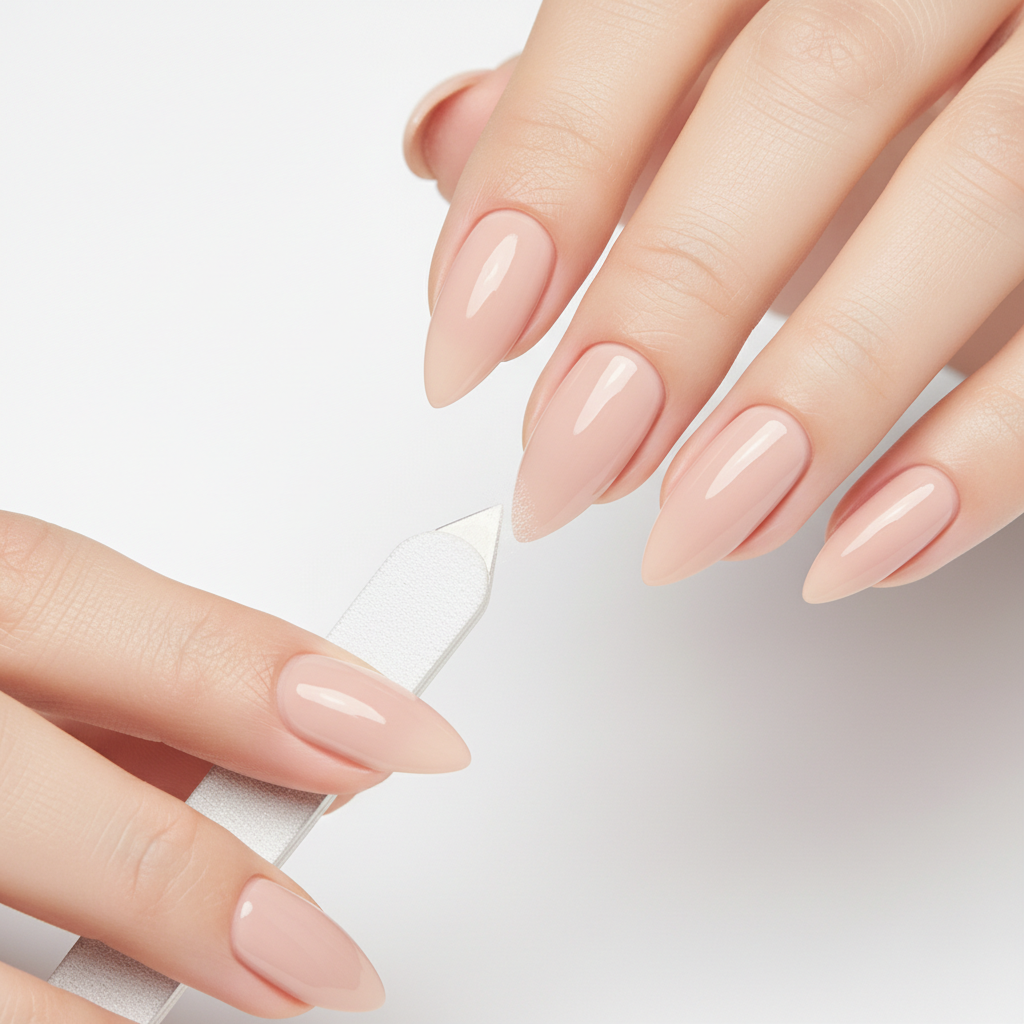
4) Shape your natural free edge
File to match the press-on shape. Sharp corners under a rounded press-on can create stress points that lift.
Choose your adhesive: glue vs tabs (and when to use each)
There’s no single “best” adhesive, it depends on your week. If you’re trying to learn how to apply press on nails correctly, picking the right adhesive for your plans is half the battle.
| Option | Best for | Typical wear | Trade-offs |
|---|---|---|---|
| Nail glue | Longer wear, stronger hold | Often 5–10 days (varies) | Harder removal, more risk of nail peeling if removed roughly |
| Adhesive tabs | Short events, low-commitment sets | Often 1–3 days (varies) | More lifting with hot showers, handwashing, oily nail beds |
| Glue + small tab “anchor” | Extra smooth application for some nail shapes | Often mid-to-long wear | More steps, you still need good sizing and prep |
If you work with your hands, wash dishes often, or can’t avoid soaking, glue usually performs better. If you need removal the same night, tabs keep it simpler.
Step-by-step: how to apply press on nails correctly (clean, flush, no bubbles)
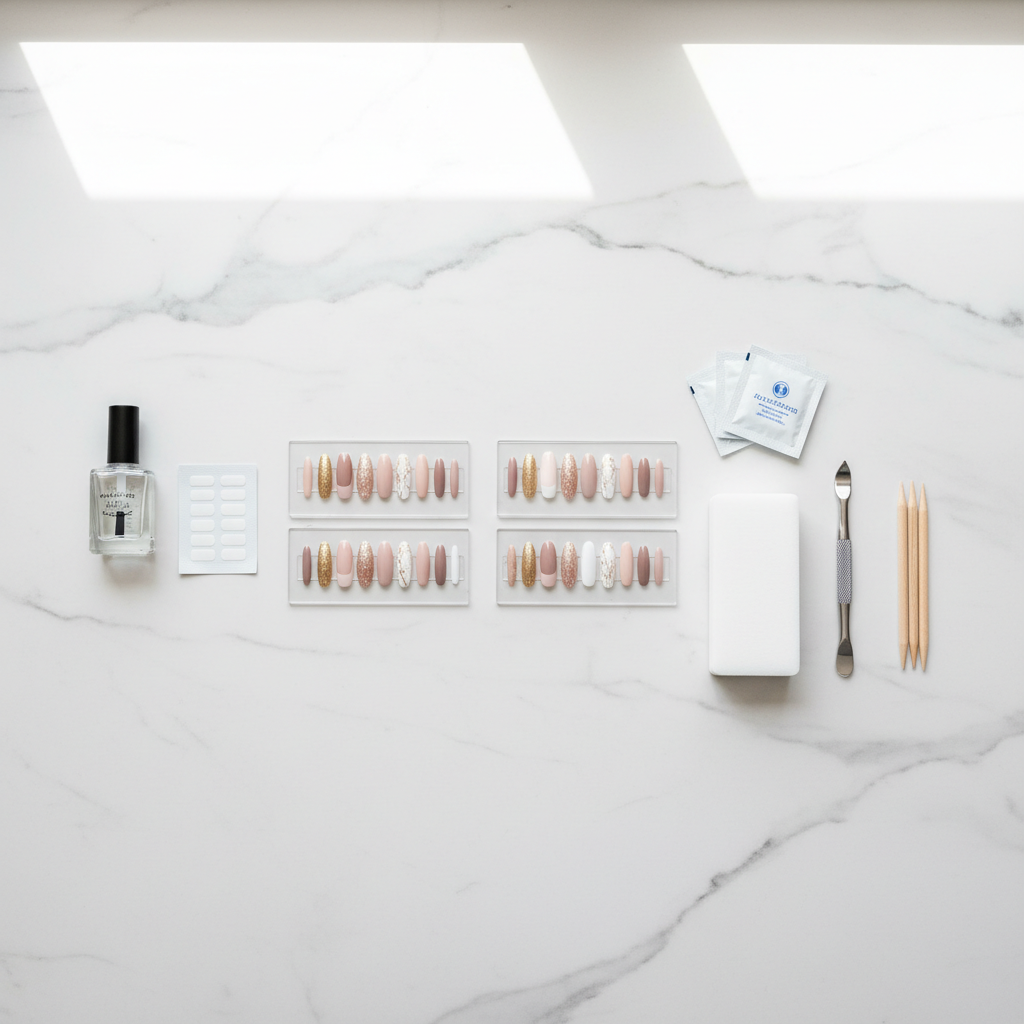
Set yourself up so you don’t scramble mid-application. Lay out nails in order for each hand, keep a wood stick nearby for cleanup.
Step 1: Size each nail, then go slightly smaller when unsure
The press-on should cover nail sidewall to sidewall without pressing into skin. If you’re between sizes, the smaller size usually looks more natural and lifts less.
Step 2: Test placement at the cuticle
Hold the nail at about a 45-degree angle, align it close to the cuticle without touching skin, then “roll” it down. This reduces trapped air.
Step 3: Apply the right amount of adhesive
- With glue, use a small drop on your natural nail and a thin swipe inside the press-on for better spread.
- With tabs, warm the tab between fingers briefly, then press it down firmly on the natural nail and remove the top film.
More adhesive doesn’t equal more wear. Too much glue creates a squishy layer that shifts and leaks at the edges.
Step 4: Press and hold longer than you think
Press from the center, then toward the sides. Hold steady for 20–30 seconds per nail with glue, a bit longer if your room is cool. Avoid water for at least an hour, many people aim for two.
Step 5: Clean edges while it’s fresh
If glue seeps out, wipe immediately with a wood stick. Don’t rip at it once it sets, that’s how lifting starts at the sidewalls.
Make them look “salon” (small details that change everything)
Press-ons can look surprisingly seamless, but the finishing steps matter.
- File and refine the shape after application, especially at the side profile.
- Blend the cuticle area gently with a fine file if there’s a visible ledge, go slow so you don’t thin the press-on too much.
- Top coat can help if your set is pre-painted and compatible, it can add shine and reduce tiny edge catches.
- Use cuticle oil later, not before, oil is great after the set is stable, not during prep.
Wear, maintenance, and safe removal (avoid nail damage)
Even when you apply everything perfectly, daily habits decide how long they last. Hot water, long baths, and harsh cleaners are common “pop-off” triggers.
Keep them on longer
- Wear gloves for dishwashing and cleaning when you can.
- Avoid using nails as tools, opening cans and prying stickers breaks the seal.
- If an edge lifts, don’t rip it, re-seal with a tiny amount of glue and pressure.
Remove press-ons without peeling
According to the American Academy of Dermatology (AAD), forcing artificial nails off can damage the nail plate, so soak-and-release is the safer approach.
- For tabs, soak in warm soapy water for 10–15 minutes, then gently wiggle off from the sides.
- For glue, soak in warm soapy water or use an acetone soak if the nail type allows it, then slide off slowly, never pry.
- Buff lightly only if needed, then use cuticle oil and hand cream.
If you feel sharp pain, see green discoloration, or the natural nail looks lifted from the nail bed, stop and consider professional help.
Key takeaways you can screenshot
- Fit beats force, sizing slightly smaller usually wears better than “almost fits.”
- Prep is the wear time, clear cuticles, remove oils, lightly buff shine.
- Less glue, more pressure, thin layers plus steady hold prevent bubbles and leaks.
- Water is the enemy early, keep nails dry for at least an hour after applying.
- Removal should feel boring, slow soaking beats fast peeling every time.
Conclusion: your next set should feel easier
Once you know how to apply press on nails correctly, it stops feeling like trial-and-error and starts feeling like a routine you can repeat in 20–30 minutes. Do the prep, match the sizes, use just enough adhesive, and give each nail real pressure time, those are the moves that pay off.
If you’re applying a set this week, pick one improvement to focus on, most people get the biggest jump in wear by fixing cuticle cleanup and sizing.
FAQ
- Why do my press-on nails pop off the next day?
Most often it’s oil or cuticle tissue left on the nail plate, or a size that’s slightly too big and catches water at the edges. Tighten up prep and double-check sizing before blaming the glue. - Is it better to use glue on the nail or on the press-on?
A small amount on both surfaces usually spreads more evenly and reduces air pockets. The goal is thin coverage, not a thick layer that oozes out. - How long should I hold press-ons after applying glue?
Many people do well with 20–30 seconds of steady pressure per nail, sometimes longer in cooler rooms. If you let go too early, the nail can shift and create micro-lifts. - Can I shower right after putting on press-ons?
It’s safer to wait at least an hour, and longer if you can. Hot water and steam can weaken the bond before it fully settles. - Do adhesive tabs ruin your nails less than glue?
Often, yes, because removal can be gentler, but it depends on how you remove them. Peeling any press-on off can take layers of nail with it. - What if my natural nails are flat and press-ons feel too curved?
Try brands with more natural curvature options, choose shorter lengths, or look for “flex” styles. For some nail shapes, a slightly smaller size plus careful rolling application helps. - How do I stop hair from getting caught under the cuticle edge?
That usually means a tiny gap near the cuticle. Re-check placement angle, press longer, and consider lightly refining the cuticle edge after application so it sits more flush.