
How to wear headband without slipping usually comes down to three things: the right size, the right placement, and a little friction where the band meets your hair or skin. If your headband keeps creeping back, it’s not you, it’s physics, smooth surfaces slide.
The good news is you don’t need a “special” head shape or a drawer full of products. Small tweaks like switching where the band sits, changing your hair prep, or choosing a different lining can make a bigger difference than buying yet another cute band that ends up on your wrist by noon.
I’ll walk through why headbands slip, how to tell what’s causing yours, and practical fixes for different headband types, from sporty elastic bands to hard plastic, plus a quick reference table you can save.
Why headbands slip (and why it’s so common)
Most slipping issues come from low friction and constant micro-movement. You turn your head, talk, chew, smile, sweat, adjust hair, all tiny motions that slowly nudge a band backward.
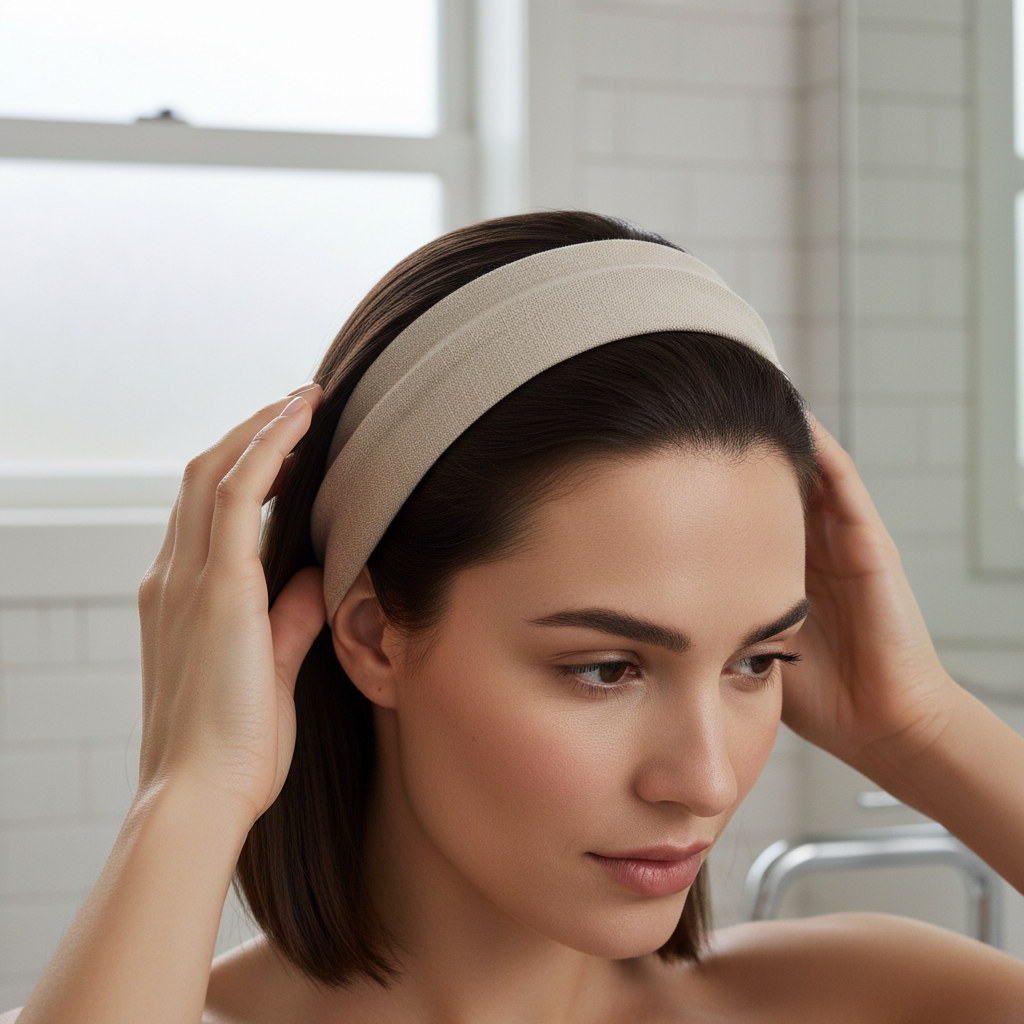
Here are the most common real-world causes:
- Band size mismatch: too loose drifts, too tight “walks” backward as it tries to relieve pressure.
- Hair surface is too slick: freshly washed hair, heavy conditioner, shine serums, and some heat-protectants reduce grip.
- Placement is fighting your hair growth: pushing hair against its natural direction often encourages the band to move.
- Wrong band style for your activity: a fashion hard headband behaves differently than a sweat-wicking athletic band.
- Moisture and sweat: moisture can reduce friction, then the band “hydroplanes.” According to CDC, sweating is a normal way the body cools, which is why workouts make slippage more likely for many people.
Quick self-check: what type of slippage is happening to you?
Before you fix it, identify the pattern. These quick checks take about a minute and save you from trying random hacks that don’t match your situation.
- Slides back slowly over 10–30 minutes: usually low friction or too-loose sizing.
- Pops back quickly when you talk or smile: often too tight or sitting on a rounded “no-grip” spot.
- Slips up and off (especially on short hair): placement is too far back, or band has no anchor points.
- Only slips when sweating: moisture management and lining matter more than placement.
- Only slips with certain hairstyles: ponytails, buns, or very flat blowouts change the surface the band grips.
Key point: if you keep re-adjusting every few minutes, the headband is either too smooth where it touches your hair, or it’s sitting in the wrong “track” on your head.
How to place a headband so it grips instead of slides
Placement is the easiest fix and costs nothing. A lot of people wear headbands where they look best in the mirror, not where they hold best during movement.
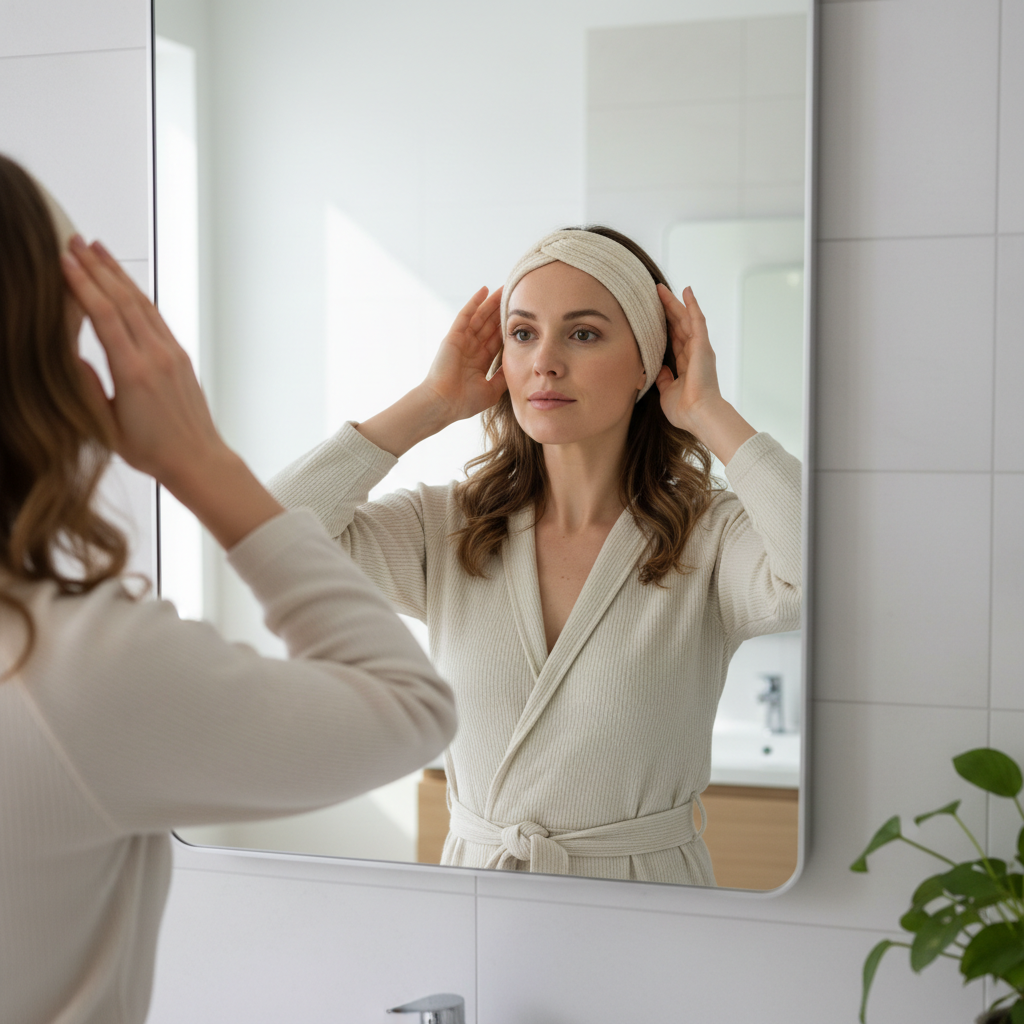
Try these placement rules, then keep the one that matches your slipping pattern:
- Start closer to the hairline: for many people, a band placed 0.5–1 inch behind the hairline grips better than one pushed far back on the crown.
- Follow your hair direction: if you push hair straight back but it naturally falls forward, slippage is more likely.
- Use the “ear line” check: the band should sit evenly above both ears, not higher on one side, uneven tension makes it migrate.
- Create a tiny lift: if your style allows, gently tease a small section at the crown so the band has texture to hold onto.
If you’re wearing a wide fabric headband, a small change helps: angle it slightly so the back edge sits on a grippier area, not the slickest part of the crown.
Hair prep that actually helps (without making hair gross)
If you’re figuring out how to wear headband without slipping on freshly washed hair, you’re not imagining things, clean hair often feels “too soft” to hold accessories. You don’t need to cake on product, you just need a bit of texture.
- Add light grip: dry shampoo, texture spray, or a small amount of hairspray on a brush, then lightly brush the area where the band sits.
- Avoid heavy slip products under the band: oils and silicone serums can make bands drift faster.
- Let damp hair fully dry: putting a headband on partially damp hair can lead to shifting as hair dries and changes shape.
- Use a “buffer” style: a little volume at the roots or a low ponytail can stabilize the band’s position.
If you have a sensitive scalp, go lighter on sprays and consider patch-testing new products, irritation is possible, and a dermatologist can give safer guidance if you react easily.
Grip tricks by headband type (elastic, fabric, hard, sports)
Different headbands fail in different ways. Pick the tactic that matches what you’re wearing, instead of forcing one hack to work for everything.
Elastic or fabric wrap headbands
- Flip for friction: many bands have a smoother and a grippier side, wear the higher-friction side against hair.
- Use bobby pins as “stops”: cross two pins behind the band near the temples, pin into hair, not into the band, so they act like little brakes.
- Micro-adjust tension: if it’s adjustable, tighten just enough to hold, overtightening often increases sliding.
Hard plastic or metal fashion headbands
- Look for teeth or silicone pads: smooth hard bands are the most likely to slip on silky hair.
- Anchor behind ears: position the ends so they sit securely behind the ear curve, not floating on top.
- Add discreet grip: small silicone strips or “wig grip” style liners can increase traction, test comfort first.
Sport headbands (running, gym, yoga)
- Prioritize moisture control: sweat-wicking fabric and a snug fit beat fashion details.
- Wear under hair, not on top: for long hair, placing the band under the top layer can help it lock in.
- Choose width based on movement: very thin bands can roll, medium-width bands often stay flatter.
Cheat sheet: match the problem to the fix
If you want the fastest route to a stable fit, use this table to troubleshoot without overthinking it.
| What you notice | Most likely cause | What to try next |
|---|---|---|
| Band slowly creeps back | Low friction, too loose | Add light texture spray, move closer to hairline, choose band with grip lining |
| Band “springs” backward quickly | Too tight or wrong curve | Loosen/size up, try a different shape, avoid placing on the roundest crown spot |
| Slips most during workouts | Sweat + smooth fabric | Wicking sport band, wider style, grip liner, secure with pins at temples |
| Hard headband hurts and still slips | Pressure points + smooth ends | Try teeth/padded ends, adjust behind ears, consider softer fabric style |
| Stays put until you style hair sleek | Style too smooth | Light backcombing at roots, dry shampoo at contact area, avoid oil under band |
Common mistakes that make slipping worse
A few habits almost guarantee you’ll keep adjusting all day. Some feel intuitive, but they backfire.
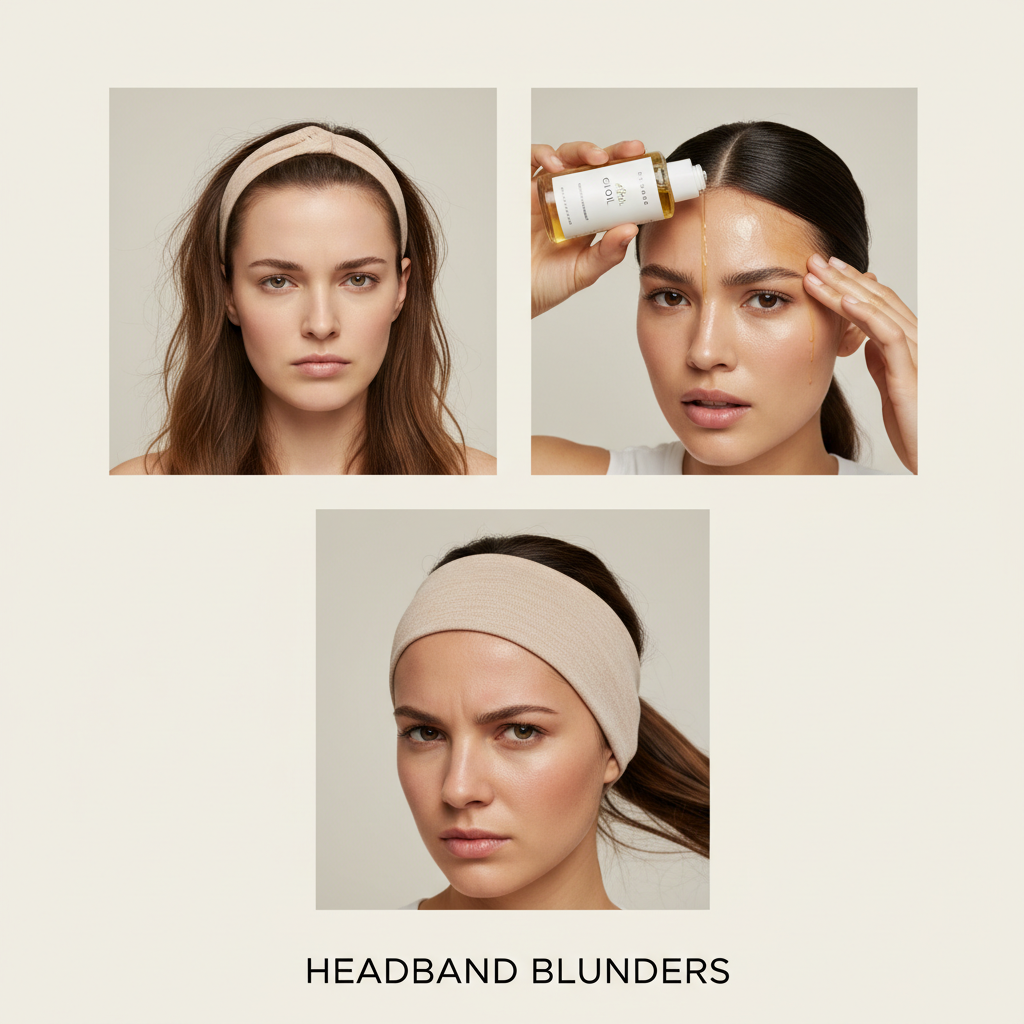
- Wearing it on freshly conditioned hair: conditioner residue can be a slip accelerator, clarify occasionally if buildup happens.
- Overtightening: it can feel secure for five minutes, then pressure and movement push it out of position.
- Constant re-centering: repeated sliding and pushing can smooth hair further, making the next slip easier.
- Ignoring band material: some fabrics and hard plastics just don’t grip certain hair types well, switching style is often faster than fighting it.
- Using harsh adhesives on skin: tape or glue near hairline may irritate skin, and removal can damage hair, if you need medical-grade options, ask a professional.
When it’s worth asking a pro (or switching strategies)
If slipping is tied to scalp sensitivity, hair loss concerns, or headaches, it’s smart to slow down. According to American Academy of Dermatology Association, certain tight hairstyles and repeated tension can contribute to hair breakage, so comfort matters, not just hold.
Consider professional guidance if:
- You get frequent headaches or scalp pain from headbands
- You notice breakage along the hairline where the band sits
- You have a skin condition (like dermatitis) and products or liners trigger irritation
A hairstylist can recommend headband shapes and placements for your haircut, and a dermatologist can help if irritation or shedding becomes a recurring theme.
Practical routine: a 2-minute setup that stays put
Here’s a simple routine that works for many day-to-day situations, errands, office, school pickup, light workouts. Adjust based on your hair type and comfort.
- Step 1: choose a band with some texture inside, or add a small grip liner if yours is smooth.
- Step 2: add light texture at the contact zone, dry shampoo or a small mist of hairspray onto fingers, then tap roots.
- Step 3: place the band 0.5–1 inch behind the hairline, keep it even above both ears.
- Step 4: add two crossed bobby pins behind the band near each temple if you need extra security.
- Step 5: stop touching it, seriously, give it 10 minutes to “settle” before judging.
Key takeaway: when you combine placement + friction + a small anchor, you usually solve the problem without making your hair stiff or your scalp sore.
Conclusion: make slipping the exception, not the norm
How to wear headband without slipping is rarely one magic trick, it’s a quick fit-and-friction checklist. Start with placement near the hairline, add a touch of texture, then anchor with pins or choose a band with a grippy lining when you know you’ll move more.
If you want a simple next step, try one change today, either move the band forward by an inch, or add light dry shampoo where it sits, then see which improves hold more for your hair.
If you’re building a small “no-slip” rotation, aim for two styles: one comfortable everyday headband with grip lining, and one sport option that handles sweat without sliding.