
Best blush for fair skin natural usually means one thing in real life, you want a believable flush that does not turn peachy-orange, sit on top of texture, or disappear by noon.
Fair skin can be less forgiving with undertone clashes and heavy pigment, especially when “clean” or “natural” formulas vary a lot in texture and payoff. The good news, when you match undertone and formula to how you actually wear makeup, most of the struggle goes away.
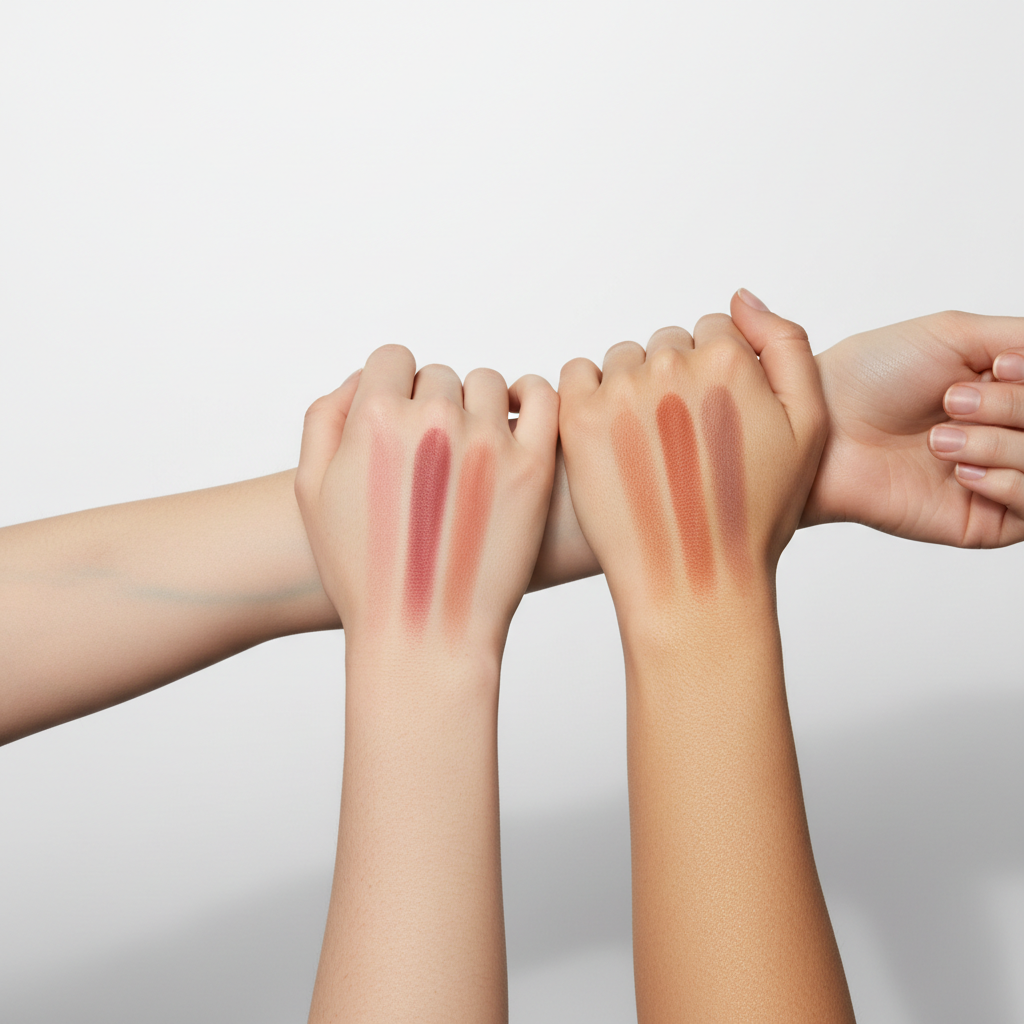
This guide focuses on what tends to work in the U.S. market: shade families that flatter pale complexions, “natural” formula options worth considering, and a few application moves that keep the finish skin-like rather than makeup-y.
What “natural blush” can mean (and why it matters)
People use “natural blush” in two different ways, and mixing them up leads to buying the wrong product.
- Natural-looking on skin: sheer, buildable color, soft edges, no obvious shimmer chunks, looks like blood flow rather than makeup.
- Natural or clean-leaning formula: often mineral pigments, plant oils, fewer fragrance ingredients, sometimes talc-free, but performance can vary by brand.
According to the FDA, cosmetics are not subject to premarket approval (with a few exceptions), so “clean” is not a regulated claim. Translation, it helps to look at ingredients and performance together, not marketing alone.
Why blush looks “off” on fair skin
When blush fails on fair skin, it is usually one of these issues rather than “you applied it wrong.”
- Undertone mismatch: warm peach on cool pink skin can read orange, cool fuchsia on warm skin can look bruised.
- Pigment density: some creams and liquids are very concentrated, one dot becomes clown cheeks fast.
- Base interaction: dewy SPF, silicone primer, or powder foundation can make certain blushes skip or grab.
- Wrong finish for texture: strong shimmer can emphasize pores; ultra-matte powders can look chalky if skin runs dry.
If you are hunting for the best blush for fair skin natural, the fastest win is to pick a shade family that matches undertone and then choose a texture that plays nicely with your base.
Quick self-check: find your most flattering shade family
You do not need a perfect undertone diagnosis, you just need a practical starting point.
Shade match cheat sheet
| Fair-skin undertone (common signs) | Most natural-looking blush shades | Shades that often go wrong |
|---|---|---|
| Cool (pink/redness shows easily, silver jewelry flatters) | Soft baby pink, cool rose, muted mauve, raspberry sheer | Strong coral, orange-peach, very warm terracotta |
| Neutral (both gold and silver work, undertone feels “balanced”) | Dusty rose, nude pink, neutral peach-pink, soft berry | Neon pinks, very brown “bronze blush” shades |
| Warm (gold jewelry pops, skin reads more yellow/peach) | Peach-pink, apricot, warm rose, soft coral (muted) | Blue-based fuchsia, very cool lilac |
Key point: on fair skin, “muted” usually looks more believable than “bright.” If you love a brighter blush, look for a sheer formula so you can control it.
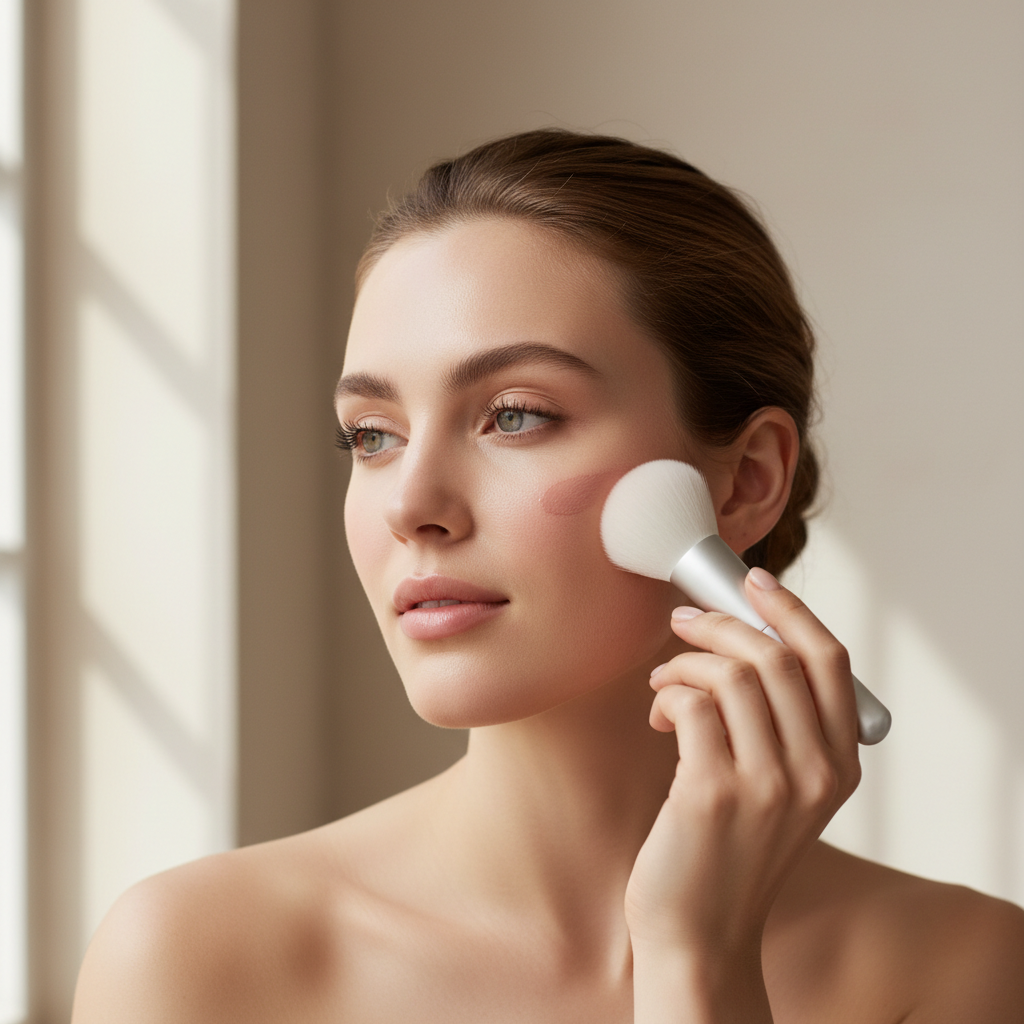
If you are still unsure, do a 10-second test in natural light: hold a rosy lip balm (cool pink) and a peach lip balm (warm) near your cheek. The one that makes your skin look clearer usually points to your best blush direction.
Choosing the right formula for a natural finish
“Natural” for fair skin is often more about texture than color. Here is how different formulas behave, especially when you want that barely-there flush.
Powder blush (easy, forgiving)
- Best when you set foundation or wear powder base.
- Look for finely-milled powders and shades labeled “sheer” or “buildable.”
- If you get dryness, avoid ultra-matte powders and use a hydrating base underneath.
Cream blush (most skin-like, but can move makeup)
- Great for dry to normal skin, and for “no-makeup makeup.”
- Can lift foundation if you rub, so plan to press and tap instead of swiping.
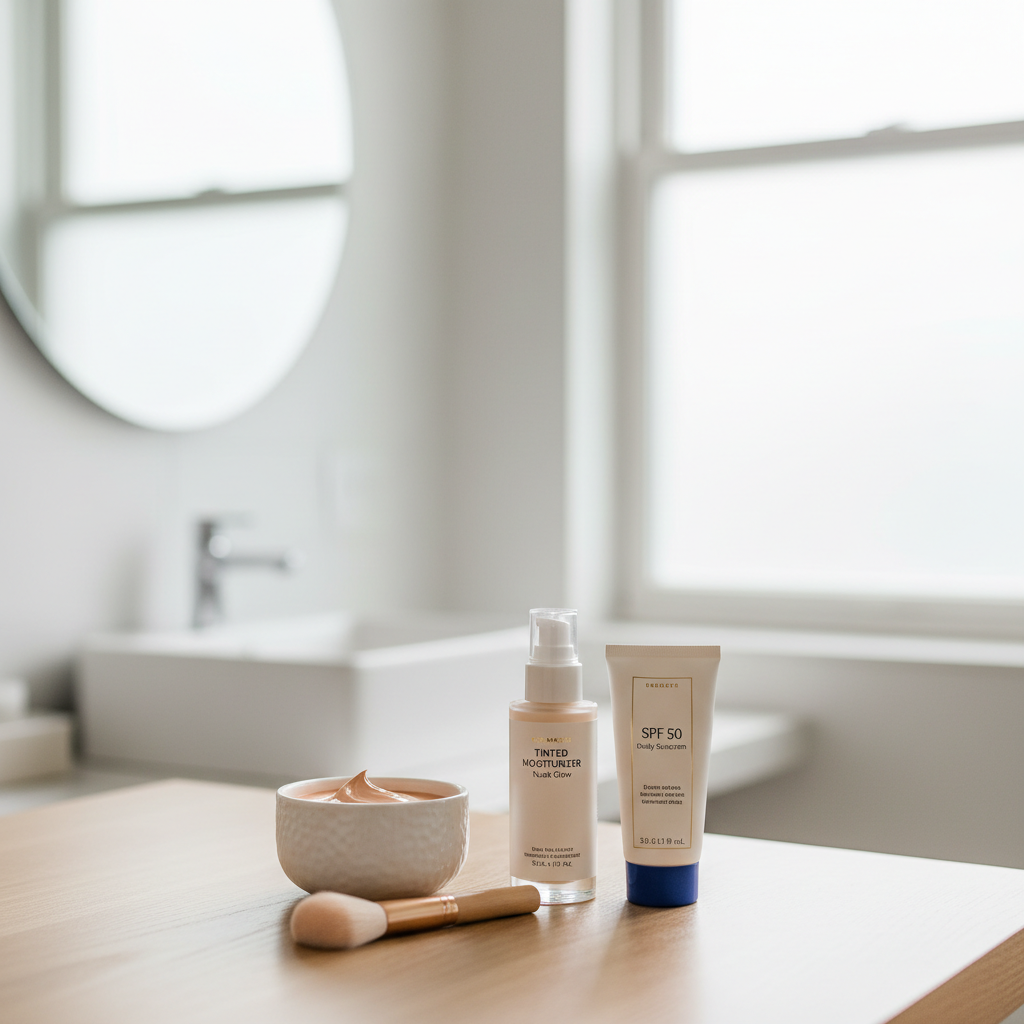
- Works well over tinted moisturizer and lighter bases.
Liquid and serum blush (fresh, strong pigment)
- Often the most concentrated, so start with a tiny amount.
- Best approach: put on the back of your hand first, then pick up with a brush or sponge.
- If your cheeks stain too fast, choose a lighter shade rather than “just using less.”
“Clean” or natural-leaning formulas (what to watch)
- Some use plant oils and waxes that feel comfortable, but can break down SPF or base depending on your skin.
- Essential oils and fragrance can be irritating for some people. According to the American Academy of Dermatology, fragrance is a common trigger for sensitive skin, so patch testing is smart if you react easily.
If your goal is the best blush for fair skin natural in both look and ingredient philosophy, prioritize fragrance-free, buildable pigment, and a finish that matches your skin type.
Real-world picks: what to look for on the shelf
Rather than naming one “winner” for everyone, here are the traits that consistently perform well on fair complexions, including in natural or clean-leaning lines.
- Sheer-to-medium payoff, so you can build without panic blending.
- Muted pinks, dusty roses, soft peaches, especially if you hate the “orange” problem.
- Neutral finishes: satin or soft-matte tends to look most like skin; micro-shimmer can be pretty but less forgiving on texture.
- Packaging that supports control: a small cream pot or a doe-foot that does not overload product helps with fair skin.
One shopping tip that saves money, avoid judging blush only by the pan color. Fair skin often needs a shade that looks a little “boring” in the compact, then comes alive once blended thin.
How to apply blush so it stays natural (step-by-step)
You can have the perfect shade and still end up with harsh edges if placement and layering are off. This is the routine that tends to work across formulas.
Step 1: pick placement based on face shape and redness
- If you flush naturally in the center of cheeks, keep color slightly higher and blend outward to avoid emphasizing redness.
- If you want lift, place blush on the outer cheekbone area, then blend toward temple.
Step 2: use less product than you think
- Powder: tap brush, then tap off again, then apply.
- Cream/liquid: start with half a pea or a tiny dot, build slowly.
Step 3: blend edges, then “melt” it into skin
- Use a clean brush to soften borders.
- If it still looks obvious, press a sponge with leftover foundation around the edges to diffuse.
Step 4: set only where needed
- Oily skin: a light dusting of translucent powder on the T-zone, then a touch over blush if it slips.
- Dry skin: skip heavy powder, or use a light finishing spray if you like that look.
Quick rescue: if you overdo it, do not keep blending in circles. Add a bit of base product to the perimeter and press, it usually fixes the “too much blush” look faster.
Common mistakes (and what to do instead)
- Choosing “nude” shades that are too brown: on fair skin they can read dirty. Try dusty rose or peach-pink instead.
- Using highlighter-like blush on textured skin: swap to satin or soft-matte, or apply shimmer only on the very top of cheekbone.
- Applying on top of unset sunscreen: many SPFs stay tacky, which can cause patchiness. Give it a few minutes to set before blush.
- Copying placement from trends: draping can look beautiful, but if you deal with facial redness it can amplify it. Keep color slightly higher and more diffused.
This is where people get stuck, they buy three shades chasing the “best blush for fair skin natural,” when the fix is often a small shift in undertone or finish.
When it makes sense to ask a pro
If blush regularly stings, triggers bumps, or worsens dermatitis, it may be worth checking with a dermatologist or an allergy specialist, especially if you suspect fragrance sensitivity. A makeup artist can also help if your undertone feels confusing or if you are building a small capsule kit for photos, weddings, or work events.
Key takeaways + a simple conclusion
- Muted, buildable shades usually look most believable on fair skin.
- Match undertone first, then choose a formula that works with your base.
- Use tiny amounts, blend outward, and soften edges with a clean brush or sponge.
If you want a natural flush that reads “healthy” rather than “makeup,” pick one soft shade family that flatters you, then practice a two-minute application routine for a week. Your next blush purchase becomes much easier.