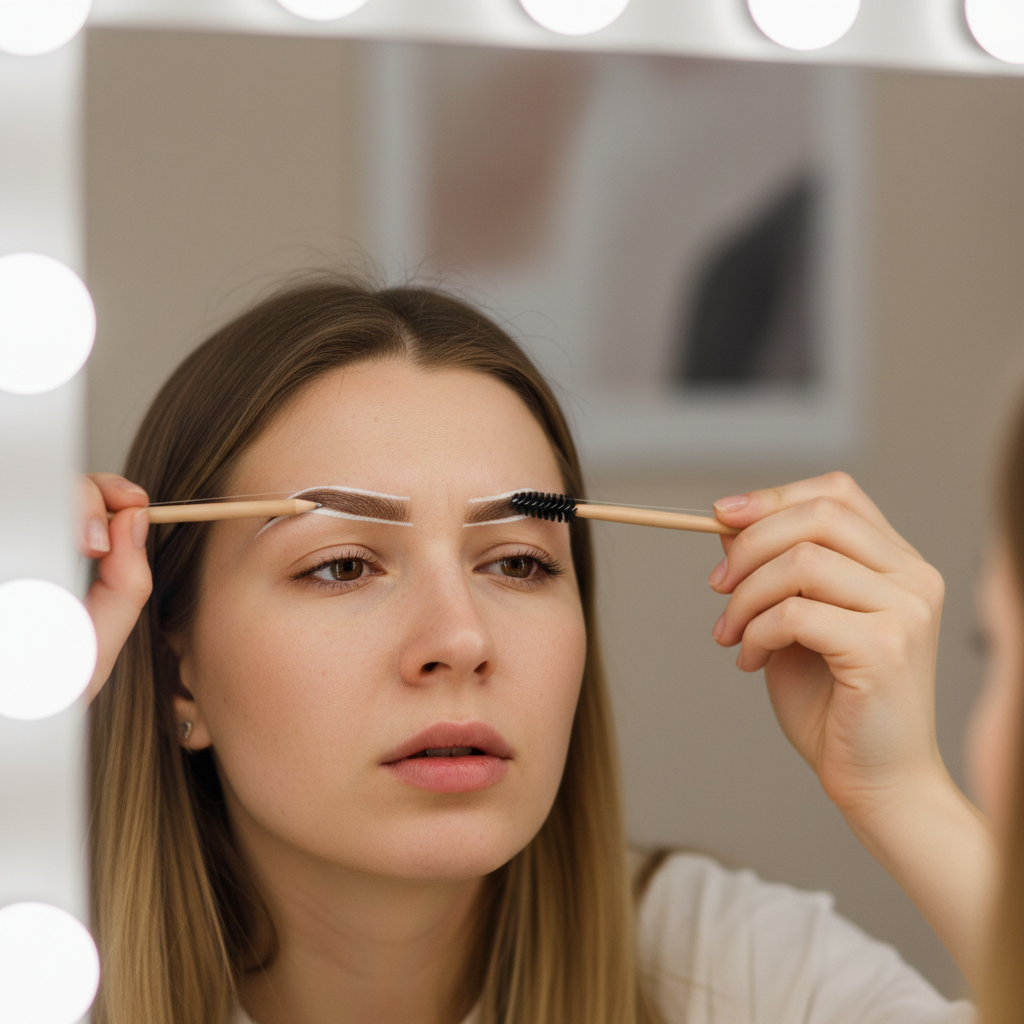
How to draw eyebrows for beginners usually comes down to two things: picking a shape that matches your face, and using lighter pressure than you think you need. If your brows keep looking blocky, too dark, or mismatched, it’s rarely because you “can’t do brows” and more because the steps are out of order.
The good news is you don’t need a giant kit or perfect symmetry. You need a quick map, the right tool for your brow type, and a repeatable method you can do in five minutes on a random Tuesday morning.
One quick boundary: if you have irritation, flaking skin, or recent brow treatments, go gently and consider patch-testing new products. According to the U.S. Food & Drug Administration (FDA), cosmetics can cause allergic reactions in some people, so stopping use and consulting a clinician is a reasonable move if you notice swelling, burning, or persistent redness.
Start with your natural brow (don’t fight it)
If you try to draw a completely new brow on top of your face, it tends to look “stamped.” Most beginner brow issues come from ignoring the hair you already have, especially the direction it grows near the front.
Do this first, even if you feel like you’re wasting time:
- Brush up and out with a spoolie so you can see gaps clearly.
- Trim only what’s obvious, long hairs that stick way past the top line when brushed up.
- Don’t over-pluck to “fix” a shape before you can draw it consistently.
If your brows are very sparse from past over-tweezing, you can still get a natural look, but you’ll lean more on pencil and a bit of tinted gel for structure.
Pick a beginner-friendly product (match it to your brow type)
Tools matter, but not in an expensive way. The easiest products are the ones that forgive mistakes and blend fast.
Quick product guide
| Goal | Best for beginners | Why it works | Watch-out |
|---|---|---|---|
| Fill small gaps | Micro-tip pencil | Lets you mimic hair strokes | Too much pressure makes harsh lines |
| Soft, quick definition | Powder or powder pencil | Blends easily, less “drawn on” | Can fade if you have oily skin |
| Hold shape all day | Tinted brow gel | Adds color + grip in one step | Too much gel can clump hairs |
| Bold, sculpted brows | Pomade + angled brush | High control and long wear | Easy to go too dark too fast |
Shade selection is where beginners accidentally age their face. In many cases, going one shade lighter than your hair color looks more natural, especially if you have dark hair and fair skin. If you dye your hair, try matching the brow to your roots, not the mid-lengths.
Map your brow in 30 seconds (the “three points”)
This is the step people skip, then wonder why one brow looks surprised. Use a brow pencil, makeup brush handle, or even a clean eyeliner pencil as a straight edge.
- Start: line up from the side of your nose to inner corner of your eye. Mark a tiny dot.
- Arch: line up from nose to the outer edge of your iris while looking straight ahead. Mark softly.
- Tail: line up from nose to outer corner of your eye. Mark where you want the brow to taper.
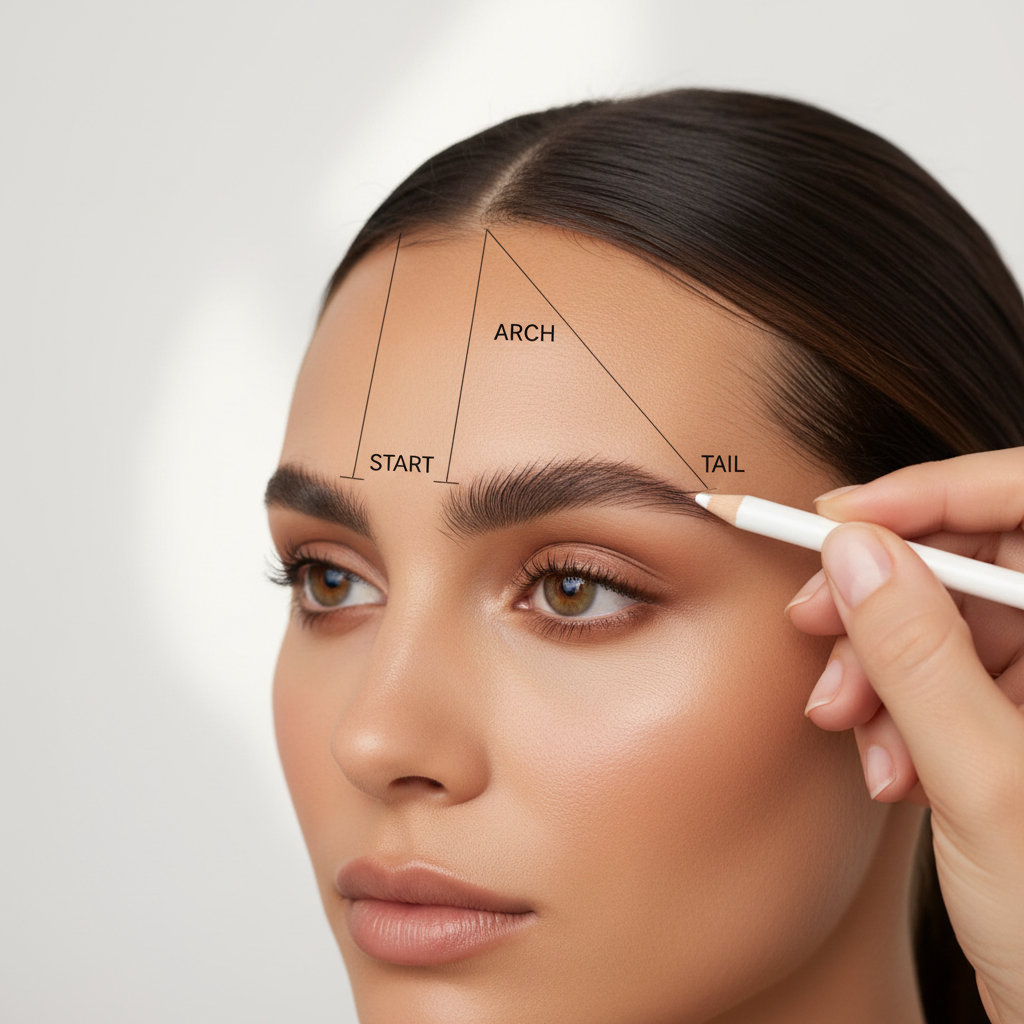
Keep the marks faint. You’re building a guide, not drawing a dotted brow. And if your brows are naturally asymmetrical, aim for balanced, not identical, your face reads “evenness” more than perfect mirror images.
The beginner method: outline lightly, then fill with strokes
How to draw eyebrows for beginners works best when you build the brow in layers. If you outline a thick box first, you’ll spend the rest of your time trying to undo it.
Step-by-step (works with pencil or powder)
- 1) Define the bottom line: from mid-brow to tail, sketch a thin line. Keep the front soft.
- 2) Add a gentle top line: start around the arch, connect to the tail, avoid outlining the front like a rectangle.
- 3) Fill the middle: use tiny strokes where hair grows, not long scribbles.
- 4) Create a gradient: the front should be the lightest, the tail can be a touch deeper.
- 5) Blend: spoolie through the whole brow to soften any obvious lines.
If you’re using pomade, use a smaller amount than you think, wipe excess off the brush first. You can always add more, removing product cleanly is the part that gets annoying.
Make it look natural: pressure, direction, and the “no-sharp-front” rule
The most common “beginner brow” giveaway is a sharp, dark block at the inner brow. Real brow hairs are lighter and less dense there for many people, so copy that pattern.
- Use a feather touch at the front, switch to slightly firmer pressure after the arch.
- Follow growth direction: up at the front, then angled outward through the body, then more horizontal at the tail.
- Leave tiny gaps between strokes so skin shows through, that’s what reads like hair.
A small trick that helps: step back from the mirror every 20 seconds. Up close, you’ll keep adding “just one more stroke” until it turns heavy.
Fix common mistakes fast (without starting over)
Most brow mistakes are fixable if you catch them early, and you don’t need a full face wipe to recover.
Quick rescue list
- Too dark: spoolie aggressively, then tap a little translucent powder over the brow to mute intensity.
- Too blocky: remove product at the front with a tiny bit of concealer on a flat brush, then blend upward.
- Uneven tails: match the tail angle first, then length. Often the angle mismatch causes the “two different brows” look.
- Overextended tail: shorten it rather than thinning it, long tails can drag the face down.
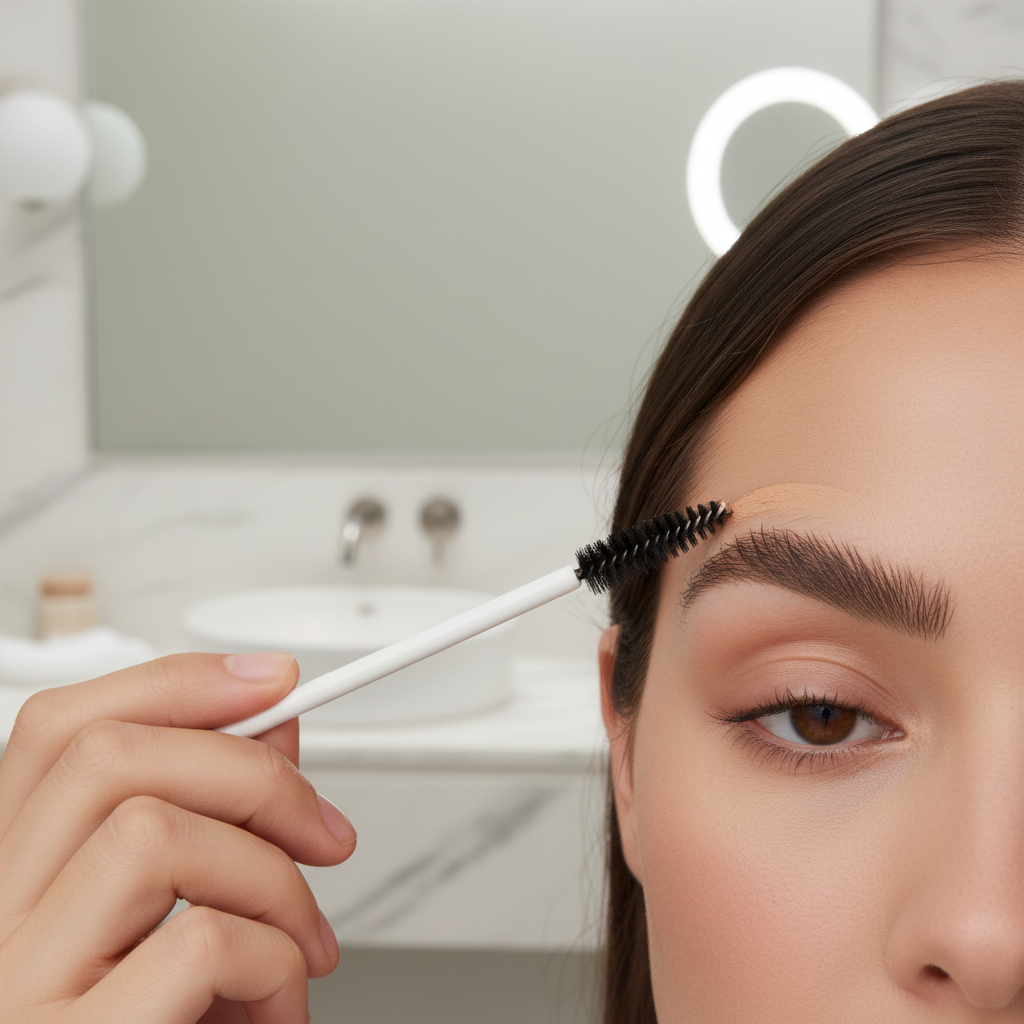
One more reality check: lighting changes everything. If you do brows in a dark bathroom and walk into daylight, they may look stronger. If possible, finish near a window or at least check with a brighter light.
Practice plan: a 7-day routine that actually sticks
Consistency beats complexity. If you do the same simple routine for a week, your hands learn the pressure and your eyes learn your face.
- Days 1–2: only brush, map, and lightly fill gaps in the middle and tail.
- Days 3–4: add soft bottom line definition from mid-brow to tail, blend thoroughly.
- Days 5–6: practice the front gradient, two to four hair strokes max, then spoolie.
- Day 7: time yourself, aim for 5 minutes without rushing, take one photo in natural light to evaluate.
Key takeaways: map first, keep the front lighter, build in layers, blend more than you think, and judge brows at arm’s length rather than inches from the mirror.
When it’s worth asking a pro
If you’re constantly drawing outside your natural brow because the shape is uneven from past over-plucking, a professional brow shaping can give you a cleaner baseline. Also consider a pro if you’re thinking about tinting, lamination, or microblading, those can look great, but results vary by skin type and aftercare.
And if you notice sudden brow hair loss, patchy areas, or irritation that doesn’t calm down, it’s sensible to consult a dermatologist or other qualified clinician to rule out skin conditions or reactions.
Conclusion: your “everyday brow” is supposed to be easy
How to draw eyebrows for beginners isn’t about creating a brand-new face, it’s about making your natural brows look a bit more even, a bit more defined, and still believable up close. Start with a soft map, use small strokes, keep the front light, and let blending do some of the work.
If you want a simple next step, pick one product that fits your brow type, then practice the same routine for seven days without changing tools midweek. Your brows will start to look “right” faster than you expect.