
How to clean white sneakers easily comes down to two things, speed and restraint, meaning you want the right cleaner for the material and you want to stop before you over-scrub or over-soak.
If you have ever “cleaned” a pair only to see gray scuffs stay put, canvas turn dingy, or the glue lines start to look tired, you are not alone, white shoes show every mistake. The good news, most pairs don’t need a deep restoration, they need a consistent, gentle routine that actually fits the sneaker’s upper.
This guide walks you through quick prep, material-specific cleaning, a simple stain playbook, and drying habits that help prevent that annoying yellow tint. I’ll also flag the common shortcuts that backfire, because many “viral hacks” work once, then wreck the finish later.
Know your sneaker materials before you touch anything
The fastest way to make a white sneaker look worse is using a one-size cleaner on the wrong upper. A soft soap mix can be perfect for canvas but risky for leather finishes if you soak it, and suede is its own world.
- Leather (smooth or coated): likes gentle surface cleaning, minimal water, and wiping dry.
- Canvas or knit: tolerates more water, but can hold grime and can yellow if dried poorly.
- Suede or nubuck: hates water-based scrubbing, usually needs a dry-clean approach.
- Rubber midsoles: can handle more friction, this is where most whitening happens.
If you cannot tell what you have, look at the product page or the inside label, and treat anything fuzzy or nap-textured as suede until proven otherwise.
A quick “what level of dirty am I” checklist
Before you start, decide if you need a 10-minute refresh or a full clean. This keeps you from overdoing it, which is often what causes weird texture changes.
- Level 1: light dust, minor scuffs, soles look dull.
- Level 2: visible stains on the upper, grimy midsoles, laces look gray.
- Level 3: set-in stains, odor, fabric looks yellowed, dirt packed into tread.
Level 1 usually needs spot work and midsole cleaning. Level 2 needs lace removal and a gentle upper wash. Level 3 may still be DIY, but you’ll want patience, multiple passes, and sometimes a pro cleaner for suede or stubborn dye transfer.
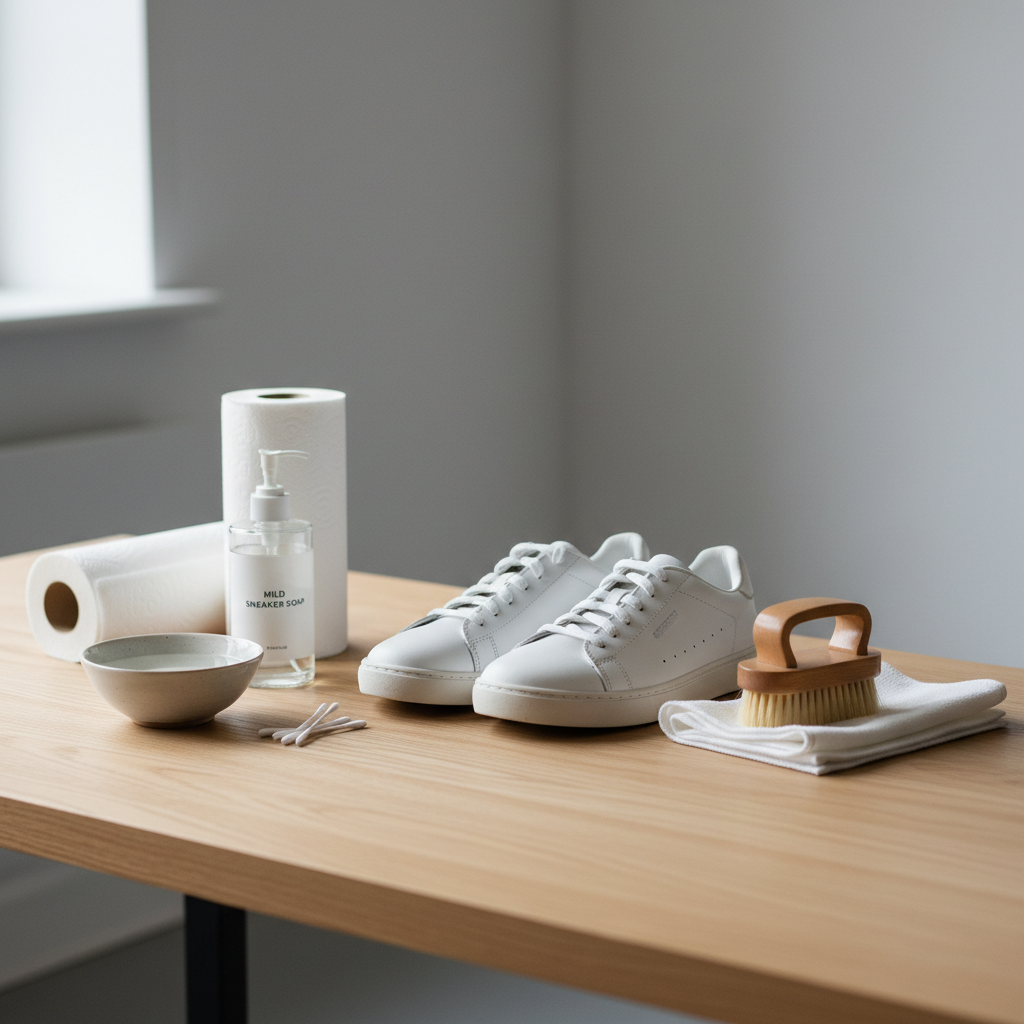
The easy cleaning kit (no fancy products required)
You can build a solid setup from what most households already have. The goal is controlled cleaning, not aggressive chemistry.
- Soft-bristle brush (or clean old toothbrush)
- Microfiber cloths or soft rags
- Mild dish soap or gentle laundry detergent
- Small bowl of lukewarm water
- Magic eraser-style melamine sponge for midsoles (use lightly)
- Cotton swabs for seams and edges
- Paper towels for blotting
Key point: skip bleach for most situations. Bleach can weaken fibers, disrupt coatings, and sometimes leaves a yellow cast when it reacts or when it is not fully rinsed. According to CDC guidance on bleach, it should be used with ventilation and never mixed with other cleaners, which is not the vibe you want for casual sneaker care.
How to clean white sneakers easily (step-by-step routine)
This is the routine I suggest for most leather, canvas, and knit sneakers when you want a safe clean without turning it into a weekend project.
1) Dry brush first (it matters more than people think)
Remove laces, then dry-brush the upper and the outsole to knock off loose grit. If you add water too early, loose dirt becomes muddy paste, and you end up chasing smears.
2) Make a gentle cleaning solution
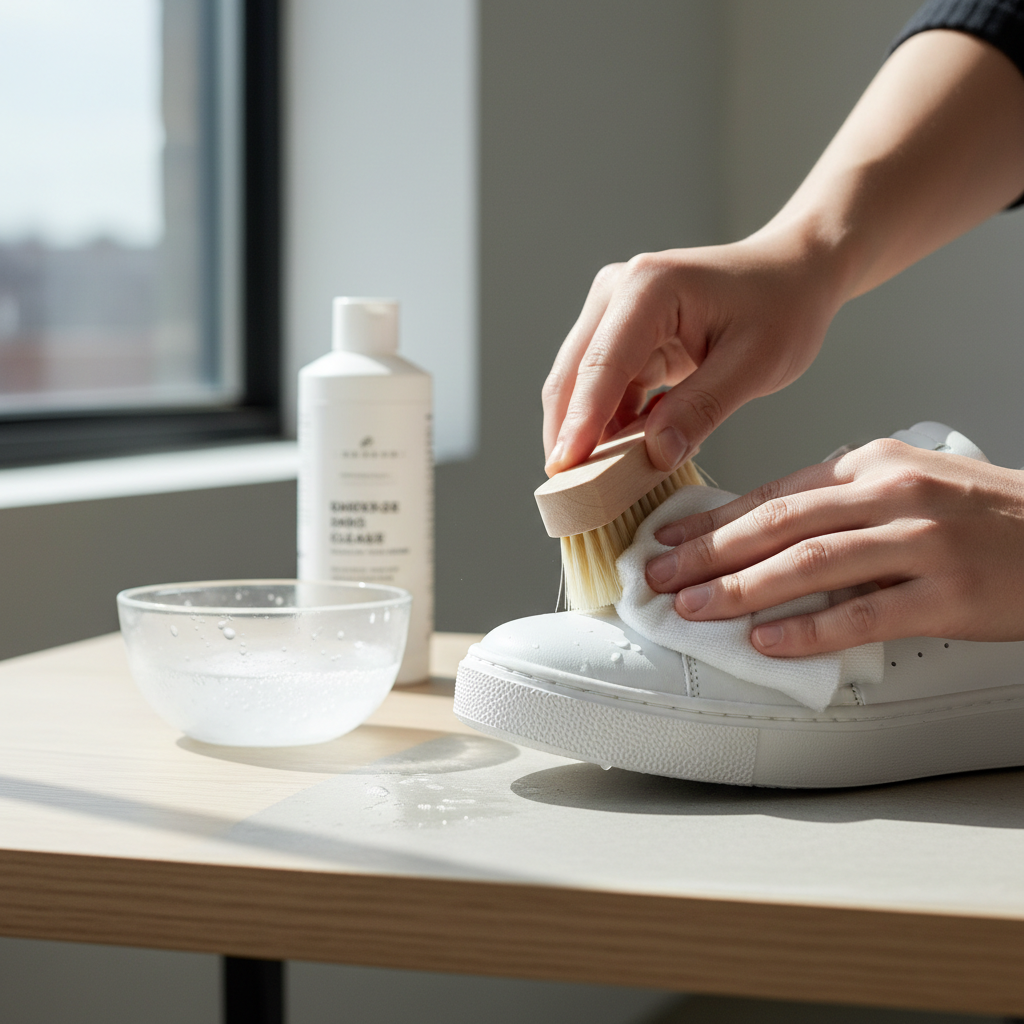
Mix a few drops of mild soap into lukewarm water. You want suds, not a strong concentrate. Dip the brush, tap off excess, and keep the shoe damp, not soaked.
3) Clean the upper with light pressure
Work in small sections, brush in short strokes, and wipe with a clean damp cloth as you go. If you see dye transfer or texture change, stop and switch to blotting, some finishes are more delicate than they look.
4) Focus on the midsole and toe bumper
This is where most of the visible “white” lives. Use the brush or a melamine sponge on rubber, but keep it away from fabric and painted logos. Light passes beat heavy scrubbing.
5) Rinse by wiping, not dunking
Use a clean damp cloth to lift soap residue. Leaving soap behind can attract more dirt later and can contribute to stiffness in canvas.
Stain playbook: what to do when “soap and water” is not enough
Some marks need a targeted approach. The trick is matching the stain type, then using the mildest method that gets movement.
- Scuffs on leather: try a damp microfiber cloth first, then a tiny amount of mild soap. If needed, a melamine sponge can work, but go gently because it can dull the finish.
- Grass or food stains on canvas: dab with soapy water, blot, repeat. Avoid saturating the area, it can create a ring.
- Oil or grease: blot immediately, then use a small amount of baking soda or cornstarch to absorb, brush off later, then do a light soap clean.
- Ink: spot test first. Rubbing alcohol on a cotton swab can help on some coated leathers, but it can also strip color or sheen, so proceed carefully and stop if the finish changes.
- Yellowing on fabric: often a drying or residue issue. A second rinse-wipe and slow shade drying helps more than harsher chemicals.
If you are cleaning suede, don’t use this stain list as-is. Suede usually needs a suede brush, suede eraser, and patient dry work, water can spread stains and leave tide marks.
Drying matters: how to avoid warping and yellowing
People obsess over the cleaner, then ruin results during drying. You want shape support, airflow, and no heat.
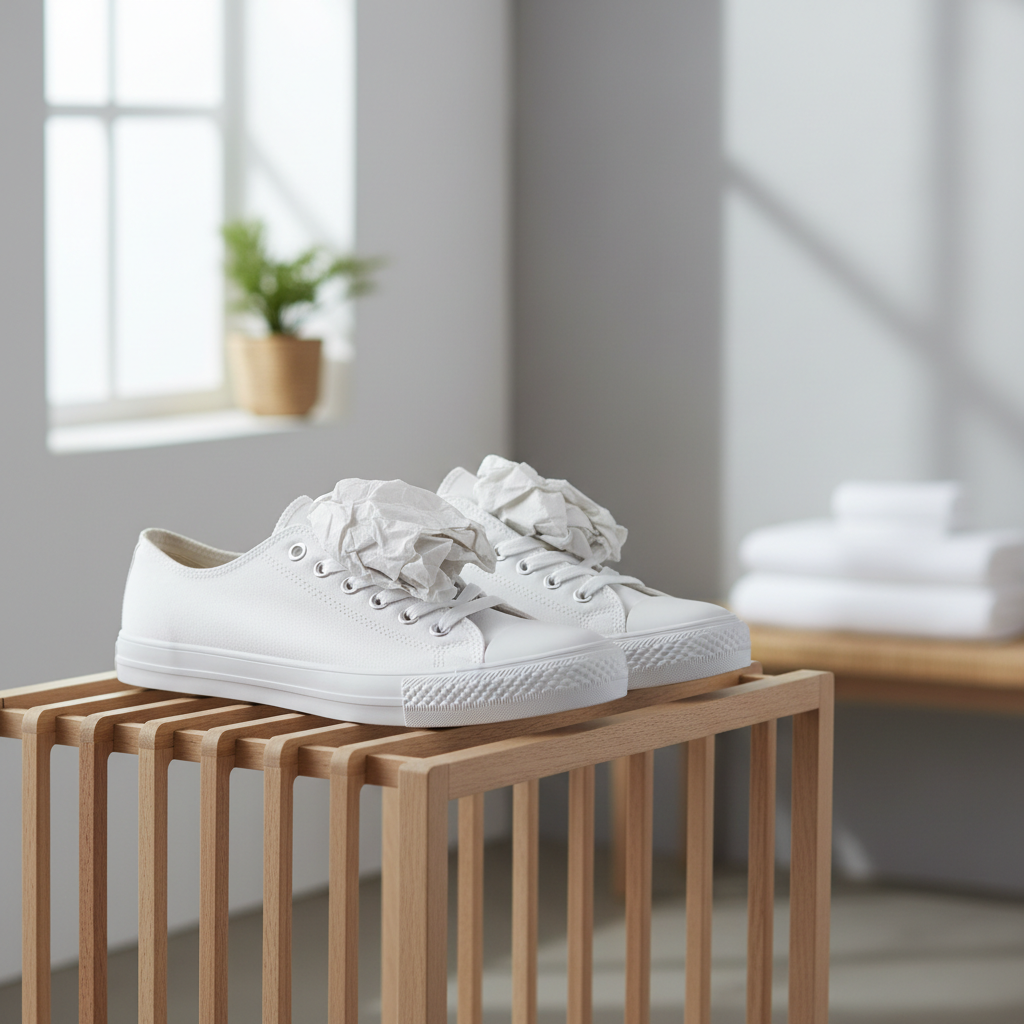
- Stuff with paper towels to keep the toe box shape and pull moisture out.
- Air-dry in shade, away from direct sun and away from a heater or hair dryer.
- Change paper towels once they feel damp, especially for canvas or knit.
- Wait fully dry before relacing, trapped moisture can create odor and can set creases.
According to EPA guidance on indoor air quality, ventilation supports healthier indoor environments, which also helps moisture-heavy tasks like drying shoes indoors. It’s a small thing, but it helps.
Machine washing: when it’s okay, and how to do it with less risk
Machine washing can work for some canvas and some knits, but it is not friendly to every sneaker. Glue, shape, and coatings can degrade over time.
Use a washer only if: the brand care instructions allow it, the shoe has no delicate leather overlays, and you accept some wear over time.
- Remove laces and insoles, wash separately
- Place sneakers in a mesh laundry bag with a few towels
- Cold water, gentle cycle, small amount of mild detergent
- No dryer, air-dry only
If you do this often, expect faster aging, especially around glue lines and toe flex points. If you care about keeping a pair crisp for longer, hand cleaning wins most of the time.
Quick reference table: method by material
If you want a one-glance cheat sheet, this is the practical version.
| Material | Best approach | Avoid |
|---|---|---|
| Leather | Light soap + damp cloth, minimal water | Soaking, heavy scrubbing, harsh solvents |
| Canvas | Soft brush + mild soap, wipe-rinse | Bleach overuse, heat drying, leaving soap residue |
| Knit/mesh | Gentle brushing, blotting, controlled moisture | Twisting/wringing, aggressive erasers on fabric |
| Suede/nubuck | Suede brush + suede eraser, dry cleaning | Water scrubbing, soap saturation |
| Rubber midsole | Brush + soap, optional melamine sponge | Rubbing into painted areas or printed graphics |
Common mistakes that make white sneakers look worse
Most “it got dirtier” stories come from a few repeat errors. If you avoid these, you usually get a clean result without drama.
- Over-soaking the upper: can loosen adhesives and cause uneven drying marks.
- Using bleach as a default: can weaken fabric and contribute to discoloration over time.
- Scrubbing fabric with a magic eraser: can fuzz canvas and rough up knits.
- Drying in direct sun: can yellow some fabrics and warp certain materials.
- Skipping the dry-brush step: turns loose dirt into stains you then need to “treat.”
Key takeaways and a simple weekly maintenance habit
If you want how to clean white sneakers easily to stay true long-term, maintenance beats occasional deep cleans. A two-minute wipe after a dusty day usually saves you a 30-minute scrub later.
- Keep a microfiber cloth near your entryway, quick wipe on midsoles and toe area.
- Dry brush weekly to prevent grit from grinding into fabric and stitching.
- Wash laces separately when they start to look gray, it changes the whole shoe.
- Spot clean fast, fresh stains lift more easily than set stains.
When a pair has expensive materials, sentimental value, or stubborn dye transfer, a professional sneaker cleaner or cobbler may be worth it. If you use stronger chemicals, follow label instructions, ventilate the area, and if you have sensitivities, it may be smart to consult a professional for safer handling.
Conclusion: how to clean white sneakers easily is less about a miracle ingredient and more about matching the method to the material, cleaning in light passes, and drying slowly. Pick the routine above, do one small section at a time, and your shoes usually come back brighter without the “why did this turn yellow” regret.